How to Remove Makeup Stains From Any Fabric
That sinking feeling when a drop of foundation lands on your favorite white shirt? We’ve all been there. But a makeup mishap doesn’t have to spell disaster for your clothes. The absolute key to winning this battle is speed: blot the area immediately to soak up the excess, but whatever you do, never rub it in. A quick pre-treatment with something simple like dish soap can make all the difference before it ever sees the washing machine. This rapid response is your best shot at stopping the pigments and oils from getting too comfortable in the fabric fibers.
Your First Response to Makeup Stains

Those first few minutes are everything. Think of it as containment—your mission is to stop the stain from spreading and setting. Forget about aggressive scrubbing. All that does is mash the makeup deeper into the fabric's weave, making your job ten times harder.
Your first move should always be a gentle blot with a clean, dry cloth or paper towel. A pro tip is to work from the outside edge of the stain inward, which keeps you from accidentally making it bigger. If you're dealing with a powder, like a dropped blush or eyeshadow compact, try to gently blow or brush off as much of the excess as you can before you touch it with anything.
The Right Tools for the Job
Once you've blotted away the worst of it, you need to pick your first-response tool. Good news: you probably don't need a special product. Some of the best stain fighters are likely already in your kitchen or bathroom.
- Liquid Dish Soap: Its grease-cutting power is a perfect match for oil-based foundations and concealers. Just put a small drop right on the stain and gently work it in with your fingertips.
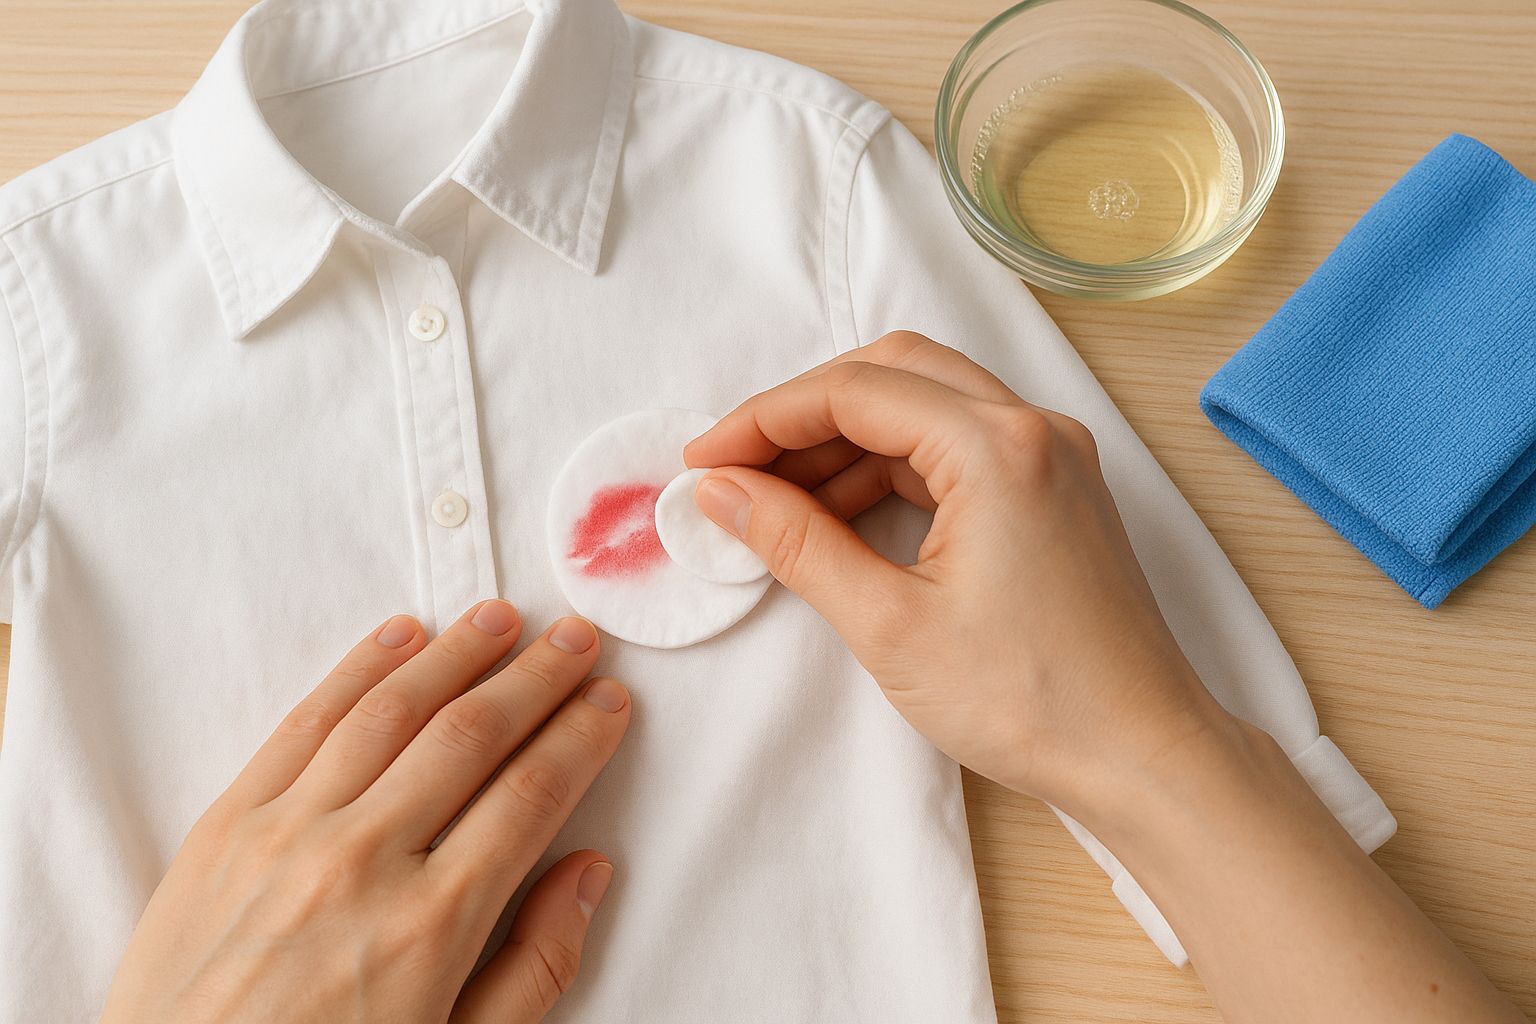
- Rubbing Alcohol: This is a fantastic solvent for waxy lipsticks or a stubborn liquid eyeliner smudge. Dab it on with a cotton ball, but always do a quick spot test on a hidden seam first, especially if you're working with delicate fabrics like silk.
- Makeup Remover Wipes: In a pinch, these can be surprisingly effective. They're literally designed to break down cosmetic formulas. Just press and blot the stain gently with a fresh wipe.
The makeup industry has grown exponentially, with the makeup remover market alone valued at USD 1.735 billion in 2023 and projected to hit USD 2.516 billion by 2030. This just goes to show how sophisticated and long-lasting modern makeup formulas are, which is exactly why knowing how to tackle them as stains is so crucial.
To give you a quick reference for that "oh no" moment, here’s a simple guide for your initial response.
Makeup Stain First Response Guide
This table is your go-to for making the right first move, which can dramatically improve your chances of getting the stain out completely.
Setting the Stage for Success
This initial pre-treatment is all about breaking down the stain before the real fight begins in the wash. The principles are similar across many tough stains; learning about proven red wine stain removal techniques, for example, can give you a better grasp of stain-fighting logic. Understanding how different stain removers work on a chemical level also demystifies why some methods are so much more effective than others.
Key Takeaway: Your immediate reaction matters most. By blotting away excess makeup and applying a simple household pre-treatment, you dramatically increase your chances of completely removing the stain later.
Matching Your Method to the Makeup Type
It’s tempting to treat every makeup stain the same, but that’s a quick route to frustration and a permanently stained shirt. A waxy lipstick smudge and a powdery eyeshadow spill are completely different beasts, and each one calls for its own unique game plan.
The secret to actually getting the stain out is understanding what the makeup is made of. Once you know that, you can pick the right tool for the job.
Conquering Oil-Based Foundations and Concealers
We've all been there—a drop of liquid foundation on a clean collar. Those creamy, long-wear formulas are usually oil-based, which is great for blending on your skin but a nightmare on fabric. That oil latches onto fibers and holds on for dear life, which is why water alone just won’t cut it.
Your secret weapon here is a powerful degreasing agent, and you probably already have one under your kitchen sink: a good liquid dish soap.
Here’s my go-to method:
- First things first, gently scrape off any excess foundation with the edge of a credit card or a dull butter knife. Don’t rub it in!
- Put a single drop of dish soap right on the stain.
- With your finger or an old, soft toothbrush, gently work the soap into the fabric. You should actually see the stain start to break down.
- Let it sit for about 15 minutes. Then, rinse it with cold water from the back of the fabric. This pushes the stain out instead of deeper into the weave.
This pre-treatment is the most critical step for oily stains. It does the heavy lifting before your washer gets involved and makes a world of difference.
Tackling Waxy Lipsticks and Cream Blushes
Lipstick, lip liners, and those creamy blushes get their staying power from a mix of oils and waxes. The wax creates a stubborn barrier on fabric that water just rolls right off of. If you’ve ever tried rinsing a lipstick mark, you know it just stares back at you, completely unfazed.
For these waxy stains, you need a solvent. Isopropyl (rubbing) alcohol is a true hero here, as it dissolves both the wax and the oil components.
Start by scraping off any blobs of lipstick. Be careful not to smear it. Next, lay the stained spot face down on a clean paper towel. Dab the back of the stain with a cotton ball soaked in rubbing alcohol. You’re essentially pushing the stain out of your clothing and onto the paper towel. Keep moving to a clean section of the paper towel as it soaks up the pigment.
Pro Tip: Never, ever use hot water as your first move on a waxy stain. The heat will melt the wax, causing it to spread and set even deeper into the fabric. You’ll turn a small spot into a much bigger, permanent problem.
Managing Powders Like Eyeshadow and Blush
Powdered makeup like eyeshadow, blush, or setting powder is a different kind of tricky. The particles are loose, and if you're not careful, you can easily grind them into the fabric's weave. The absolute worst thing you can do is rub it or immediately wipe it with a wet cloth.
Your first move should be to get rid of as much loose powder as you can without applying any pressure.
- Try blowing it off.
- Use a hairdryer on a cool, low setting.
- Gently lift the powder off with the sticky side of some tape.
Once the excess is gone, you can treat what’s left. A little dab of liquid laundry detergent or even micellar water on a clean cloth usually takes care of any lingering color.
Makeup formulas are getting more and more advanced, which means stain removal has to keep up. The global stain remover market was valued at around USD 24.98 billion and is expected to hit USD 38.46 billion by 2033. This boom shows just how much we need effective solutions for today's long-lasting, highly-pigmented cosmetics.
Choosing the right product is key, and it really depends on what you're trying to lift.
Stain Removal Agent vs Makeup Type
As you can see, a little knowledge goes a long way. Knowing which agent targets which ingredient is half the battle.
Defeating Waterproof Mascara and Liquid Eyeliner
Waterproof mascara and eyeliner are designed to repel moisture, which is exactly why they’re so brutal to get out of clothes. These formulas contain tough polymers and silicones that create a film. Plain old soap and water don't stand a chance.
You need something that can break down that resilient film.
- Oil-Free Makeup Remover: If it works on your eyes, it can work on your clothes. Apply some to a cotton ball and gently blot the stain until it starts to lift.
- Rubbing Alcohol: Just like with lipstick, alcohol can dissolve the polymers in waterproof makeup. Always test it on a hidden seam first to make sure it's safe for the fabric.
For a really stubborn mascara clump, you might need a one-two punch. Start by softening the stain with an oil-free makeup remover, then treat the leftover pigment with a dot of liquid detergent before washing. As you can see, some of the most difficult stains require more than one step.
Ultimately, picking the right method is everything. By figuring out if your stain is oily, waxy, powdery, or polymeric, you can grab the right counter-agent and turn a potential disaster into a minor cleanup.
Adapting Your Technique for Different Fabrics
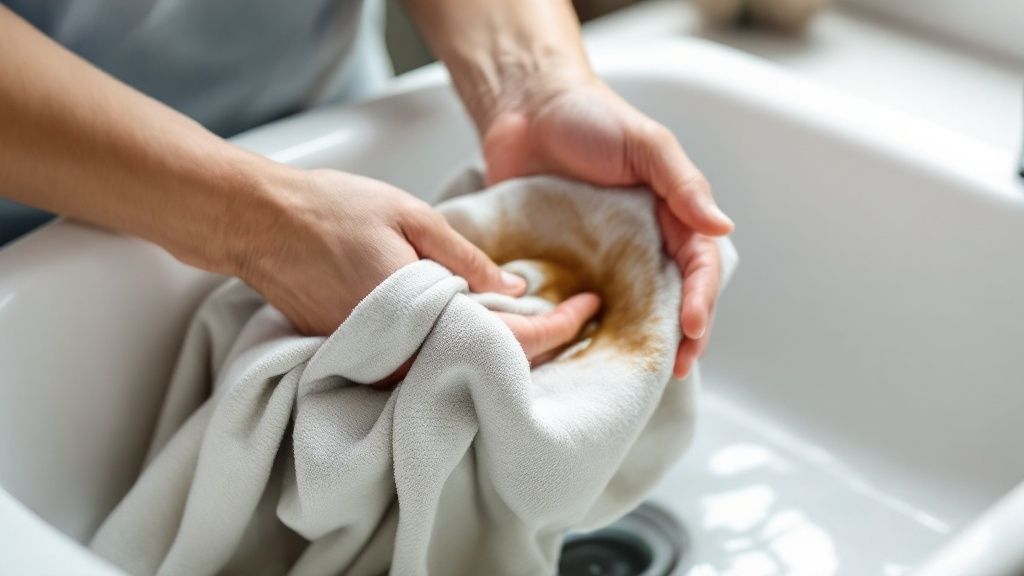
Let's get one thing straight: treating a makeup stain isn't a one-size-fits-all job. That same trick that magically lifts foundation from your favorite cotton tee could absolutely wreck a silk blouse. The fabric itself is half the battle, dictating everything from the cleaners you can use to how firmly you can blot.
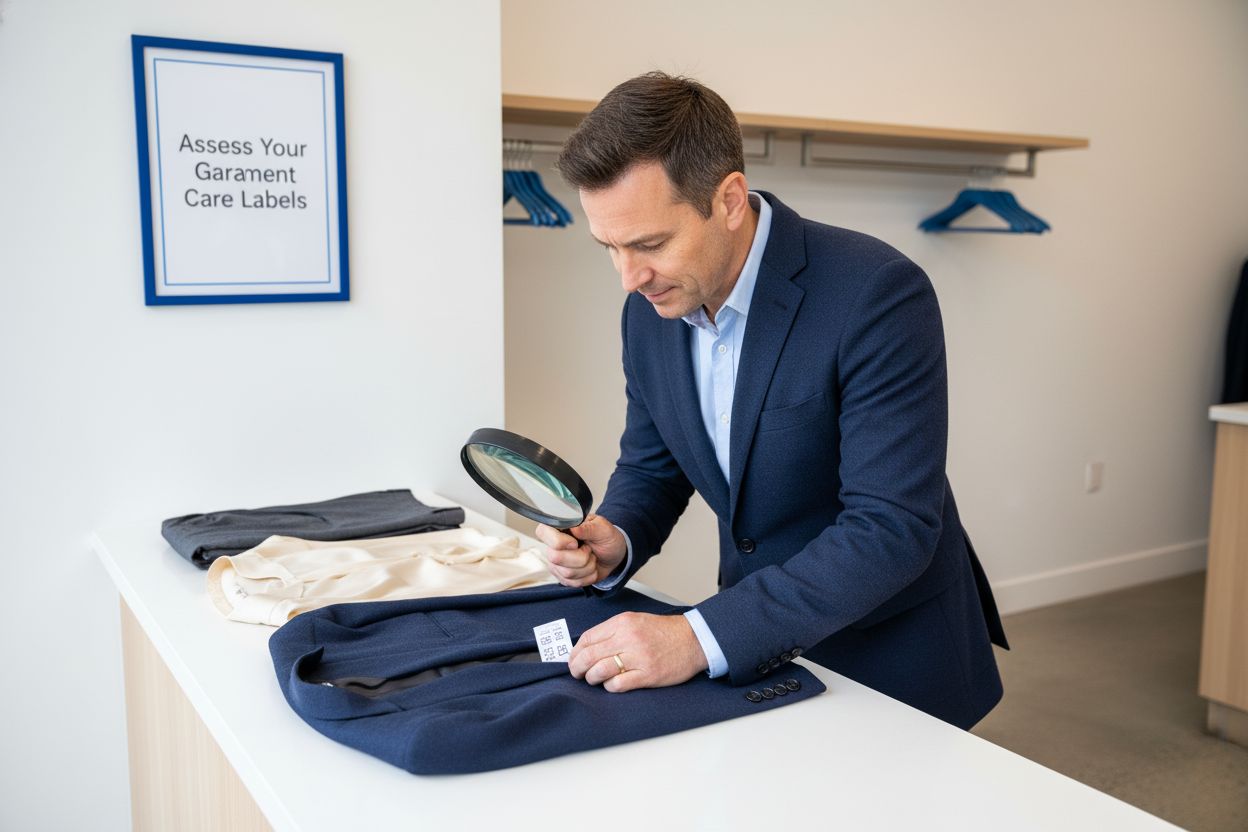
Before you do anything else, your first move should always be to check the care label. Think of it as the instruction manual for your garment. Ignoring it is the fastest way to turn a small spot into a massive, permanent problem. This simple check will tell you if an item is "dry clean only" or if it can't handle the heat.
Handling Sturdy and Synthetic Fabrics
Materials like cotton, denim, and polyester are the workhorses of any wardrobe. Their fibers are tough and can handle more aggressive cleaning methods without falling apart. This gives you a bit more breathing room when you're figuring out how to get that makeup out.
For these durable fabrics, you can be more confident with stronger pre-treatments. A tiny drop of liquid dish soap worked into an oily foundation smudge, or a bit of rubbing alcohol dabbed on a waxy lipstick mark, is usually fine. You can even use a soft-bristled toothbrush to gently work on the stain without much risk of damaging the weave.
Even with tough fabrics, though, remember the golden rule of stain removal: blot, don't rub. Scrubbing can push the pigment deeper into the fibers, making your job way harder in the long run.
The Gentle Approach for Delicate Materials
When it comes to delicates, you need a completely different mindset. Fabrics like silk, wool, satin, and rayon are gorgeous, but their fibers are incredibly sensitive to chemicals, heat, and friction. Going in too aggressively here is a recipe for disaster—we're talking color loss, thinning fabric, or permanent water spots.
When a makeup mishap happens on a delicate garment, your strategy has to be all about patience and a light touch.
- Avoid Harsh Solvents: Steer clear of strong chemicals like ammonia or high-proof alcohol. They can easily weaken or discolor delicate fibers.
- Use pH-Neutral Cleaners: Your safest bet is a tiny drop of a pH-neutral detergent (like one made for wool) or even a simple mix of cool water and a mild, clear soap.
- Blot with Extreme Care: Use a clean, white cloth and press ever so gently. Never, ever scrub or twist the fabric.
- Rinse Carefully: Instead of blasting water through the material, gently blot the area with a cloth dampened with cool water to "rinse" out the soap.
Say you got a foundation smudge on a silk blouse. Mix a very small amount of gentle, pH-neutral soap with cool water. Dab a white cloth in the solution and delicately blot the stain. Then, use a new cloth dampened with just water to lift the soap before letting it air dry completely flat.
Spot-Testing Is Your Safety Net
I don't care if you're working on denim or silk—spot-testing is the one step you absolutely cannot skip. It's your insurance policy against accidentally ruining a piece you love. Before you put any cleaning solution on the actual stain, test it on a hidden part of the garment first.
Good spots for testing include:
- An inside seam allowance
- The underside of a hem
- The fabric behind a pocket
Just apply a tiny bit of your cleaner to that hidden spot, let it sit for a few minutes, and then blot it with a damp cloth. Wait for it to dry completely. If you see any color bleeding, fading, or a weird change in texture, stop right there. That cleaner is not safe for your garment.
Tackling Makeup on Non-Washable Surfaces
Makeup stains don't limit themselves to your clothes. A slip of the brush can leave a streak on your couch, or a dropped powder compact can explode on the carpet. These non-washable surfaces require a targeted approach to avoid soaking the material and leaving behind water rings or, worse, mildew.
For upholstery and carpets, it's all about controlled application and removal.
- Get Rid of the Excess: First, gently scrape or lift away any solid bits of makeup. A dull knife works for waxy lipstick, while a vacuum with a hose attachment is perfect for loose powder.
- Choose Your Cleaner Wisely: A simple mix of a few drops of dish soap in a cup of water is often all you need. For really stubborn oil stains, a tiny amount of a dry-cleaning solvent might work, but you have to use it in a well-ventilated space and spot-test it first.
- Apply Sparingly: Dampen a clean, white cloth with your solution—don't pour liquid directly onto the stain. Gently blot the area, working from the outside edges toward the center.
- Rinse and Dry: Use another clean cloth dampened with only water to blot the area and remove soap residue. Finally, press a dry towel firmly onto the spot to soak up as much moisture as possible, then let it air dry completely.
Knowing how to adapt your methods is what separates a successful stain removal from a laundry-day tragedy. Taking that extra minute to identify the fabric and test your solution will save you so much stress and, most importantly, your favorite clothes.
Tackling Old and Set-In Makeup Stains
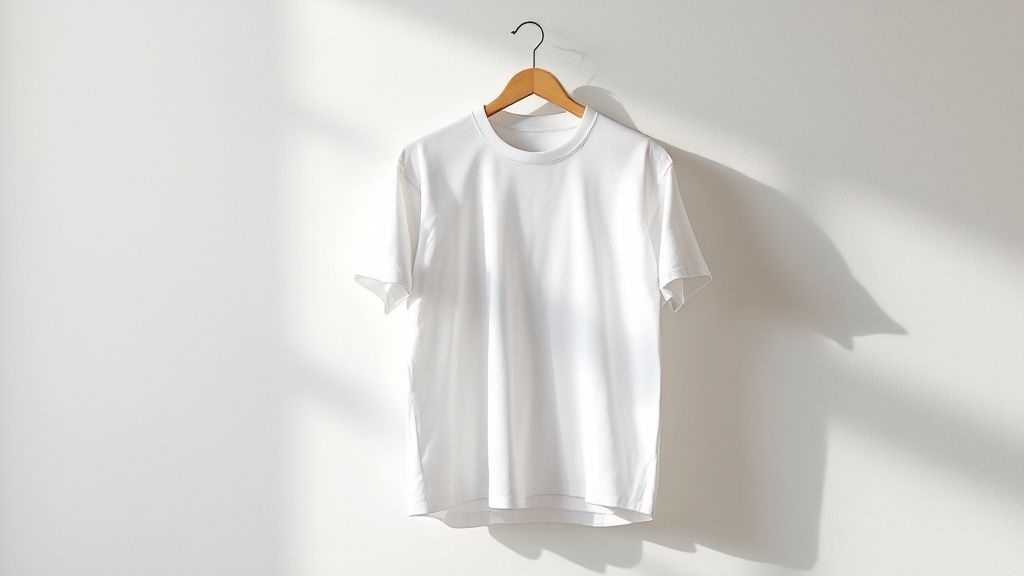
We’ve all been there. You pull your favorite white blouse out of the laundry, only to spot a foundation mark on the collar that’s now been baked in by the dryer. That sinking feeling is real. The heat from a dryer essentially acts like a kiln, bonding the oils and pigments directly to the fabric fibers. It can feel like a lost cause.
But before you relegate that shirt to the donation pile, take a breath. There are some more advanced techniques that can often salvage even these seemingly hopeless stains. It just requires more patience and a stronger game plan than you'd use for a fresh spill. Success hinges on breaking down the components of the stain that have had time to cure deep into the material.
Rehydrating and Breaking Down the Stain
Your first mission, should you choose to accept it, is to rehydrate and loosen that stubborn stain. An old, dried-out stain is brittle and locked in, so you need to soften it up before you can even think about lifting it out. This is where an enzymatic cleaner becomes your best friend.
Enzymes are basically biological powerhouses that excel at breaking down complex molecules like the proteins and lipids found in most foundations and concealers. The most effective way to put them to work is a good, long pre-soak.
- Make a soaking solution: Fill a basin or sink with cool water. Add a high-quality enzymatic stain remover or even a heavy-duty liquid laundry detergent that lists enzymes in its ingredients.
- Submerge the garment: Place the stained item in the solution, making sure the problem area is completely underwater.
- Let it sit: Now, walk away. Allow the garment to soak for at least a few hours. For a truly gnarly, heat-set stain, letting it soak overnight can make all the difference.
This extended bath gives the enzymes the time they need to get in there and methodically break down the stain's complex structure. They're doing the hard work for you.
Applying a Targeted Treatment Paste
After the pre-soak has done its job softening the stain, it's time for a more concentrated attack. Creating a paste allows you to apply a powerful cleaning agent right where you need it, letting it work for an extended period without drying out too quickly.
You've got a couple of great options here.
A paste made from baking soda and water is a fantastic gentle-yet-effective choice. Just mix it into a thick paste, apply it directly onto the stain, and let it sit for at least 30 minutes before gently rinsing.
For tougher pigment stains on white or colorfast fabrics, a paste of hydrogen peroxide and baking soda offers more lifting power. Hydrogen peroxide has mild bleaching properties that can help break down deep-set colors. That said, you should always spot-test this mixture on a hidden seam first to make sure it doesn't lighten the fabric's color.
Crucial Tip: Never use hot water while you're actively trying to remove an old stain. Just like the dryer's heat set the stain in the first place, hot water can cause any remaining pigment or oil to re-bond with the fabric fibers. Stick with cool or lukewarm water until you are 100% certain the stain is gone.
The Final Wash and Inspection
Once you’ve pre-soaked and applied your treatment paste, it’s time to wash the garment. Use a heavy-duty detergent and wash it in the warmest water that the fabric care label allows. This is the one time warm water can actually help, as it will dissolve and wash away the oils and pigments that your pre-treatments have worked so hard to loosen.
After the wash cycle finishes, do not put the item in the dryer. I can't stress this enough. Instead, take the damp garment and inspect it carefully, preferably in bright, natural light. If you can still see any trace of the stain, you’ll need to repeat the process, starting with another targeted treatment.
Only when the stain is completely, totally, and undeniably gone should you finally dry the garment.
Simple Habits to Prevent Makeup Stains
Learning how to get a makeup stain out is a great skill to have in your back pocket, but let's be honest—avoiding the stain in the first place is always the better option. It saves you time, stress, and the potential heartbreak of ruining a favorite blouse.
The best defense is a good offense, right? A few small tweaks to your daily routine can make a huge difference in preventing those accidental smudges and smears. These aren't complicated life hacks, just simple, mindful habits.
Think about the order you do things in the morning. Getting fully dressed and then leaning over the sink to apply foundation is practically asking for a drip on your collar. The easiest change you can make? Apply your makeup before you get dressed. If that’s not an option, just drape an old t-shirt or a towel over your shoulders to shield your outfit while you put the finishing touches on your look.
Strategic Dressing and Setting Your Look
Even if you apply your makeup first, you still have to navigate pulling a clean shirt over your freshly done face. We’ve all been there and seen that dreaded streak of foundation on a crisp, white collar.
Here's a trick I swear by: use a light silk scarf or even just a clean cloth as a shield. Gently hold it over your face as you pull your top over your head. It creates a simple but effective barrier between your makeup and the fabric.
Another absolute game-changer is a quality makeup setting spray. It does more than just lock your look in for hours; it creates a protective film that dramatically cuts down on makeup transfer. A few spritzes can be the difference between a pristine collar at the end of the day and one that’s covered in foundation.
Key Insight: Think of setting spray as insurance for your clothes. It’s an invisible shield that minimizes the transfer of oils and pigments, especially onto high-friction areas like collars, masks, and scarves.
Mindful Habits That Make a Difference
Beyond your get-ready routine, just a little bit of awareness throughout the day can go a long way. Trying on clothes in a store, for example, is prime time for makeup mishaps. Always ask for one of those disposable face covers if the shop has them, or use your own scarf to protect both the garment and your makeup.
Regularly cleaning your tools is another big one. Makeup brushes and sponges loaded with old product are a super common source of accidental smudges. A dirty foundation brush rolling off your counter can leave a streak on anything it touches—your clothes, the carpet, you name it. Keeping your tools clean minimizes that risk entirely.
Here are a few more easy habits to get into:
- Wash Your Hands: After applying makeup, especially foundation or concealer, always wash your hands before you touch your clothes.
- Give It a Minute: Allow your liquid makeup—foundation, liquid eyeliner, etc.—a few minutes to set and dry before you get dressed or go in for a hug.
- Blot, Don't Reapply: If you get a little oily during the day, reach for blotting papers instead of packing on more powder. This prevents that cakey buildup that’s more likely to transfer.
By making these small changes, you can stop stains before they even have a chance to happen. Of course, prevention is just one piece of the puzzle. For a bigger-picture look at keeping your whole wardrobe looking its best, check out these other simple habits to prevent stains and keep clothes fresh. Adopting these practices will make laundry day a whole lot less of a battle.
Common Questions About Makeup Stain Removal
Even with the best game plan, some makeup stains can leave you feeling stumped. When you're deep in the trenches of stain removal, a few questions always seem to come up. Let's clear the air and give you the straightforward answers you need to handle those tricky situations like a pro.
Can I Use Hairspray to Remove Lipstick Stains?
This is an old-school trick that’s best left in the past. The myth comes from a time when hairspray was loaded with alcohol, which acted as a solvent to break down waxy lipstick. Modern formulas are completely different.
Today's hairsprays are often packed with polymers, oils, and conditioners. Instead of helping, they can make a lipstick stain even worse by leaving behind a sticky, gunky film. A much safer bet is to grab some rubbing alcohol. Apply it directly with a cotton ball for pure solvent power without any of the messy extras.
What Should I Do If a Stain Went Through the Dryer?
Ah, the dreaded dryer-set stain. The intense heat can feel like a death sentence for your garment, but don't throw in the towel just yet. It's tough, but not always impossible, to reverse the damage.
Your best shot is to bring out the heavy-duty, solvent-based stain removers. Apply it generously to the spot, letting it soak in and break down the stain for several hours or even overnight. Then, rewash the item in the hottest water the care label allows. You might need a couple of rounds, but the golden rule is do not put it back in the dryer until that stain is 100% gone.
Important Takeaway: The dryer is your enemy when a stain is present. Heat is the number one thing that makes a temporary stain a permanent one. Always air-dry clothing until you are absolutely certain the makeup mark has vanished.
Are Natural Removers Like Vinegar or Lemon Juice Effective?
They can be, but you have to know when and how to use them. White vinegar, for instance, is pretty good at breaking down some water-based makeup formulas and can help knock out odors. Lemon juice acts as a natural bleach, which is fine for white fabrics but a huge risk for colored ones—it can easily cause discoloration.
Remember, both are acids. You need to be extra careful using them on delicate fabrics like silk or wool, which can be damaged by acidic solutions. When you're up against oily foundations or waxy lipsticks, these natural options just don't have the muscle. You'll get much better results from a simple degreasing dish soap or a solvent like rubbing alcohol.
Is It Better to Use a Commercial Stain Remover or a DIY Solution?
Honestly, it really depends on the stain, the fabric, and how fast you can get to it. For a fresh spill on a sturdy fabric like cotton, a DIY fix like dish soap is often a fantastic first line of defense. It's cheap, fast, and surprisingly effective at cutting through oils.
But for older, set-in stains or stubborn culprits like long-wear foundation, a commercial product specifically formulated with powerful enzymes and solvents will likely give you the edge. It's always a good idea to have both on hand. If you've tried everything and nothing's working, the problem might be bigger than the stain itself. Digging into why your washing machine isn't getting rid of stains can offer some much-needed clues about what’s going on with your laundry routine.
When a stain just won't budge, or if you'd rather not deal with it at all, let the professionals take over. Columbia Pike Laundry offers expert stain treatment for both laundry and dry cleaning, giving you back your time and peace of mind. Schedule a pickup today at https://columbiapikelaundry.com.
Popular Blog Articles

Meet the Author
Daniel Logan didn’t start CPL because he loved laundry. He started it because his family was drowning in time debt, and laundry was one of the biggest weights.
Mornings were chaos with two kids under 5. Evenings felt like catch-up. And weekends? Gone to sorting socks and folding piles.
He knew his story wasn’t unique. So he built a business that gave families like his just a little bit of breathing room one load at a time.
With no laundry experience but deep tech skills, Daniel rolled up his sleeves, doing every job himself while building systems that turned it into a modern laundry service that saves customers time, simplifies their lives, and delivers reliability they can count on.
That’s where CPL began. Not from a playbook, but from pain. From one dad trying to buy back time: for himself, and for every household like his.


