How to remove set-in grease stains from clothes: Quick fixes
Before you even think about reaching for the soap, let's talk about why that old grease stain is putting up such a fight. It's not like a simple water-based spill. Oils and fats are sneaky—they actively push water away and weave themselves deep into the fabric's fibers.
And the real kicker? That trip through a hot dryer cycle. The heat essentially bakes the oil right into the threads, making it incredibly difficult for your everyday detergent to get a grip and break it down.
Why Some Grease Stains Just Won't Budge
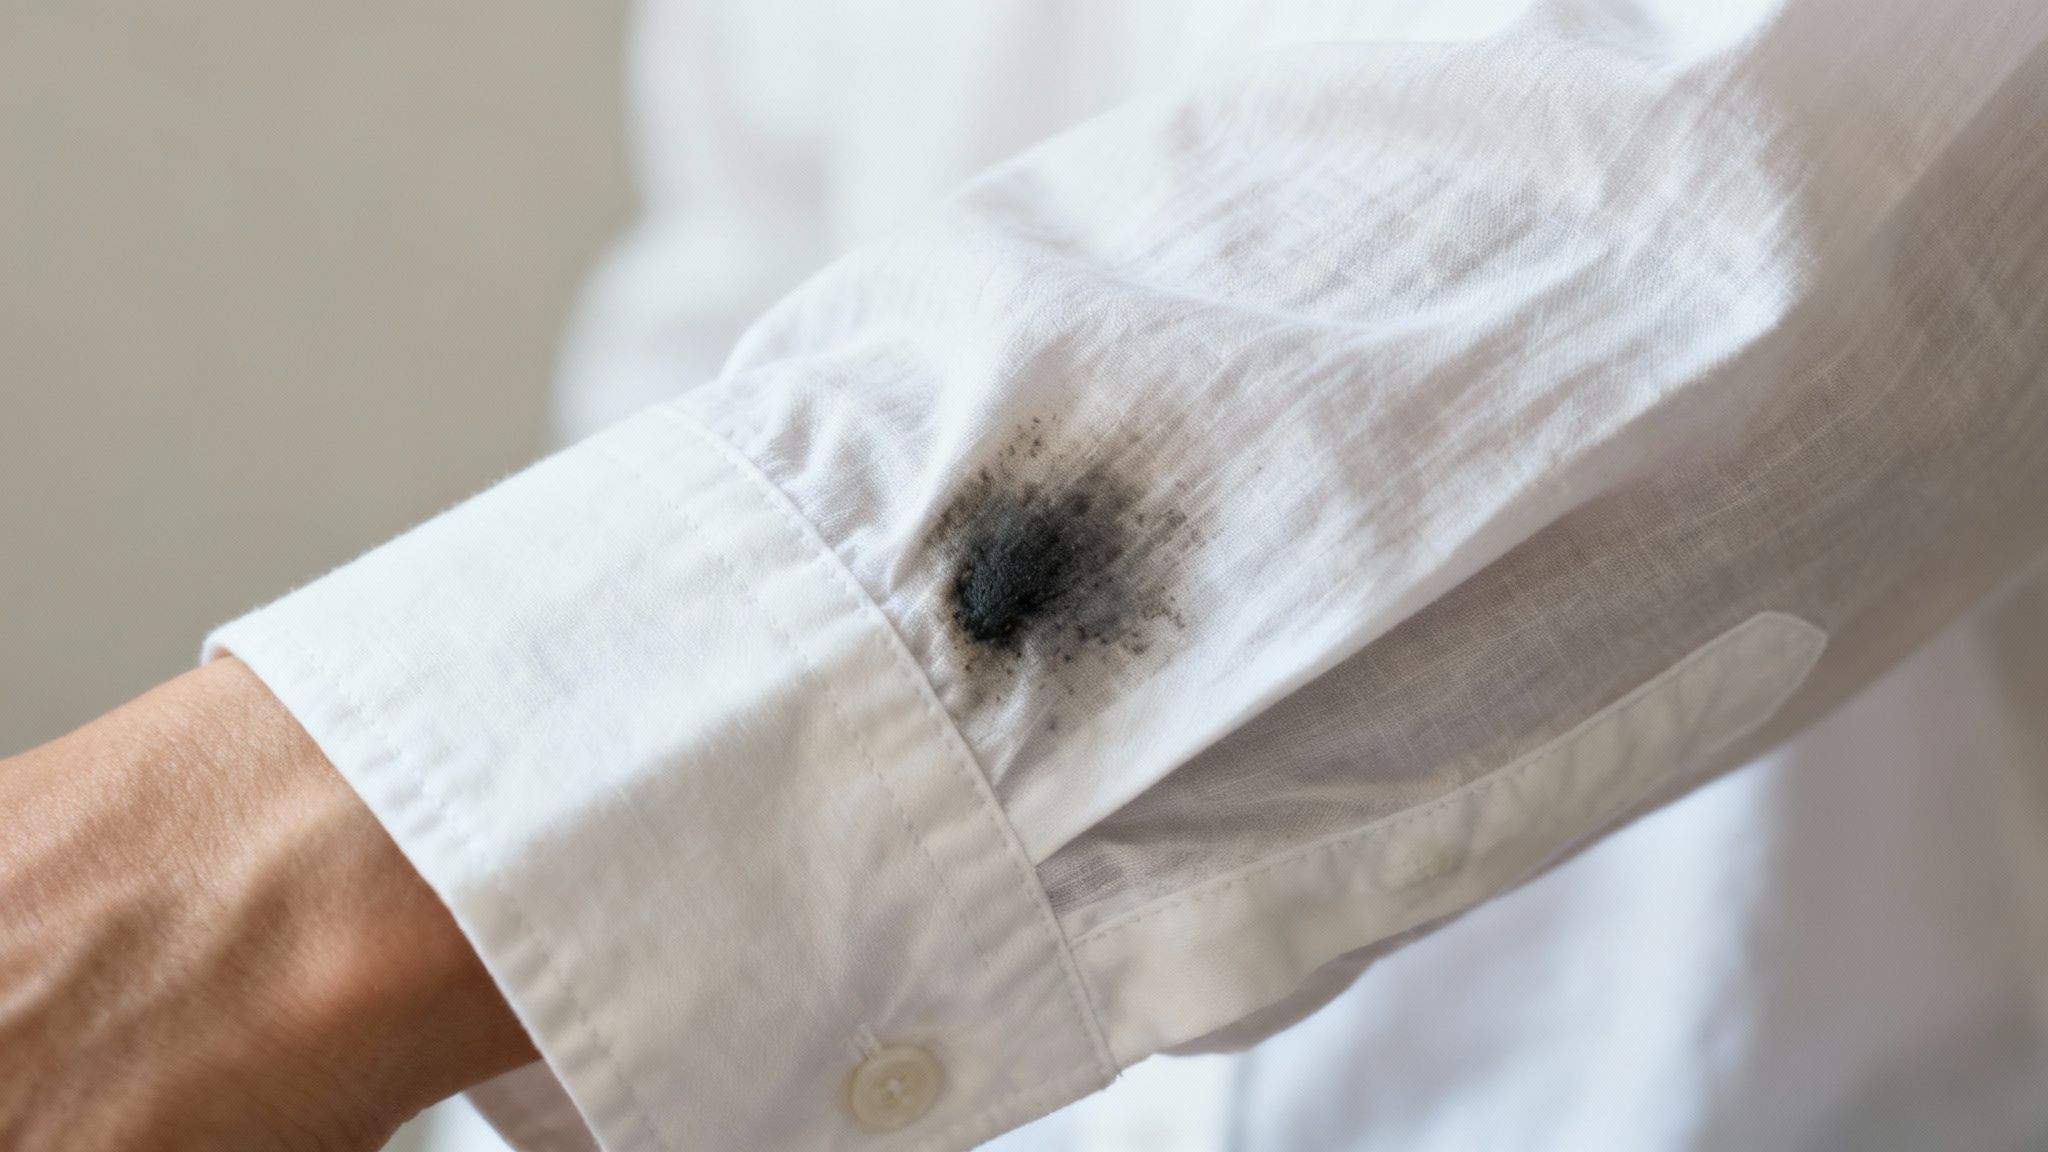
That stubborn, dark spot on your favorite shirt isn't a knock against your detergent; it's a simple chemistry problem. Oil molecules are hydrophobic, which is just a fancy way of saying they don’t mix with water. This is why a regular wash cycle often does little to lift a set-in grease stain, especially after it's been blasted with the high heat of a dryer. The heat polymerizes the oil, forging a strong bond with the fabric that water just can't break on its own.
This isn't just a hunch; the numbers back it up. Consumer studies show that the failure rate for conventional detergents on set-in grease stains hovers around a frustrating 40–60%. This has led to a huge spike in demand for specialized pre-treatment products as we all search for something that actually works.
The science behind the stain dictates the solution. To defeat a set-in grease stain, you need a pre-treatment that can dissolve the oil before it hits the water.
The Challenge of Stubborn Residues
Think about other sticky, oily messes. The persistence of set-in grease is a lot like the challenge of learning effective methods for removing tar from a car. You can't just scrub it with soap and water. Both problems require a specific solvent or degreaser to break down their core components first.
For your clothes, this means you need a better game plan than just tossing the item in the wash and hoping for the best. A successful attack plan includes a few key elements:
- An absorbent agent to first lift any excess oil sitting on the surface.
- A powerful degreaser to get in there and break the oil’s bond with the fabric fibers.
- The right water temperature during the final wash to flush all the loosened gunk away.
Getting a handle on this "why" is the first real step toward saving your favorite clothes from those impossible set-in grease stains.
Your Stain-Fighting Toolkit from Around the House
Before you can tackle that stubborn grease spot, you need to assemble your gear. The good news? You don’t have to run out and buy expensive, specialized cleaners. The most effective tools for the job are probably already sitting in your kitchen cabinets.
Think of this as a two-part attack: first, you absorb the excess oil, and then you break down what's left. Your first line of defense is a simple, absorbent powder.
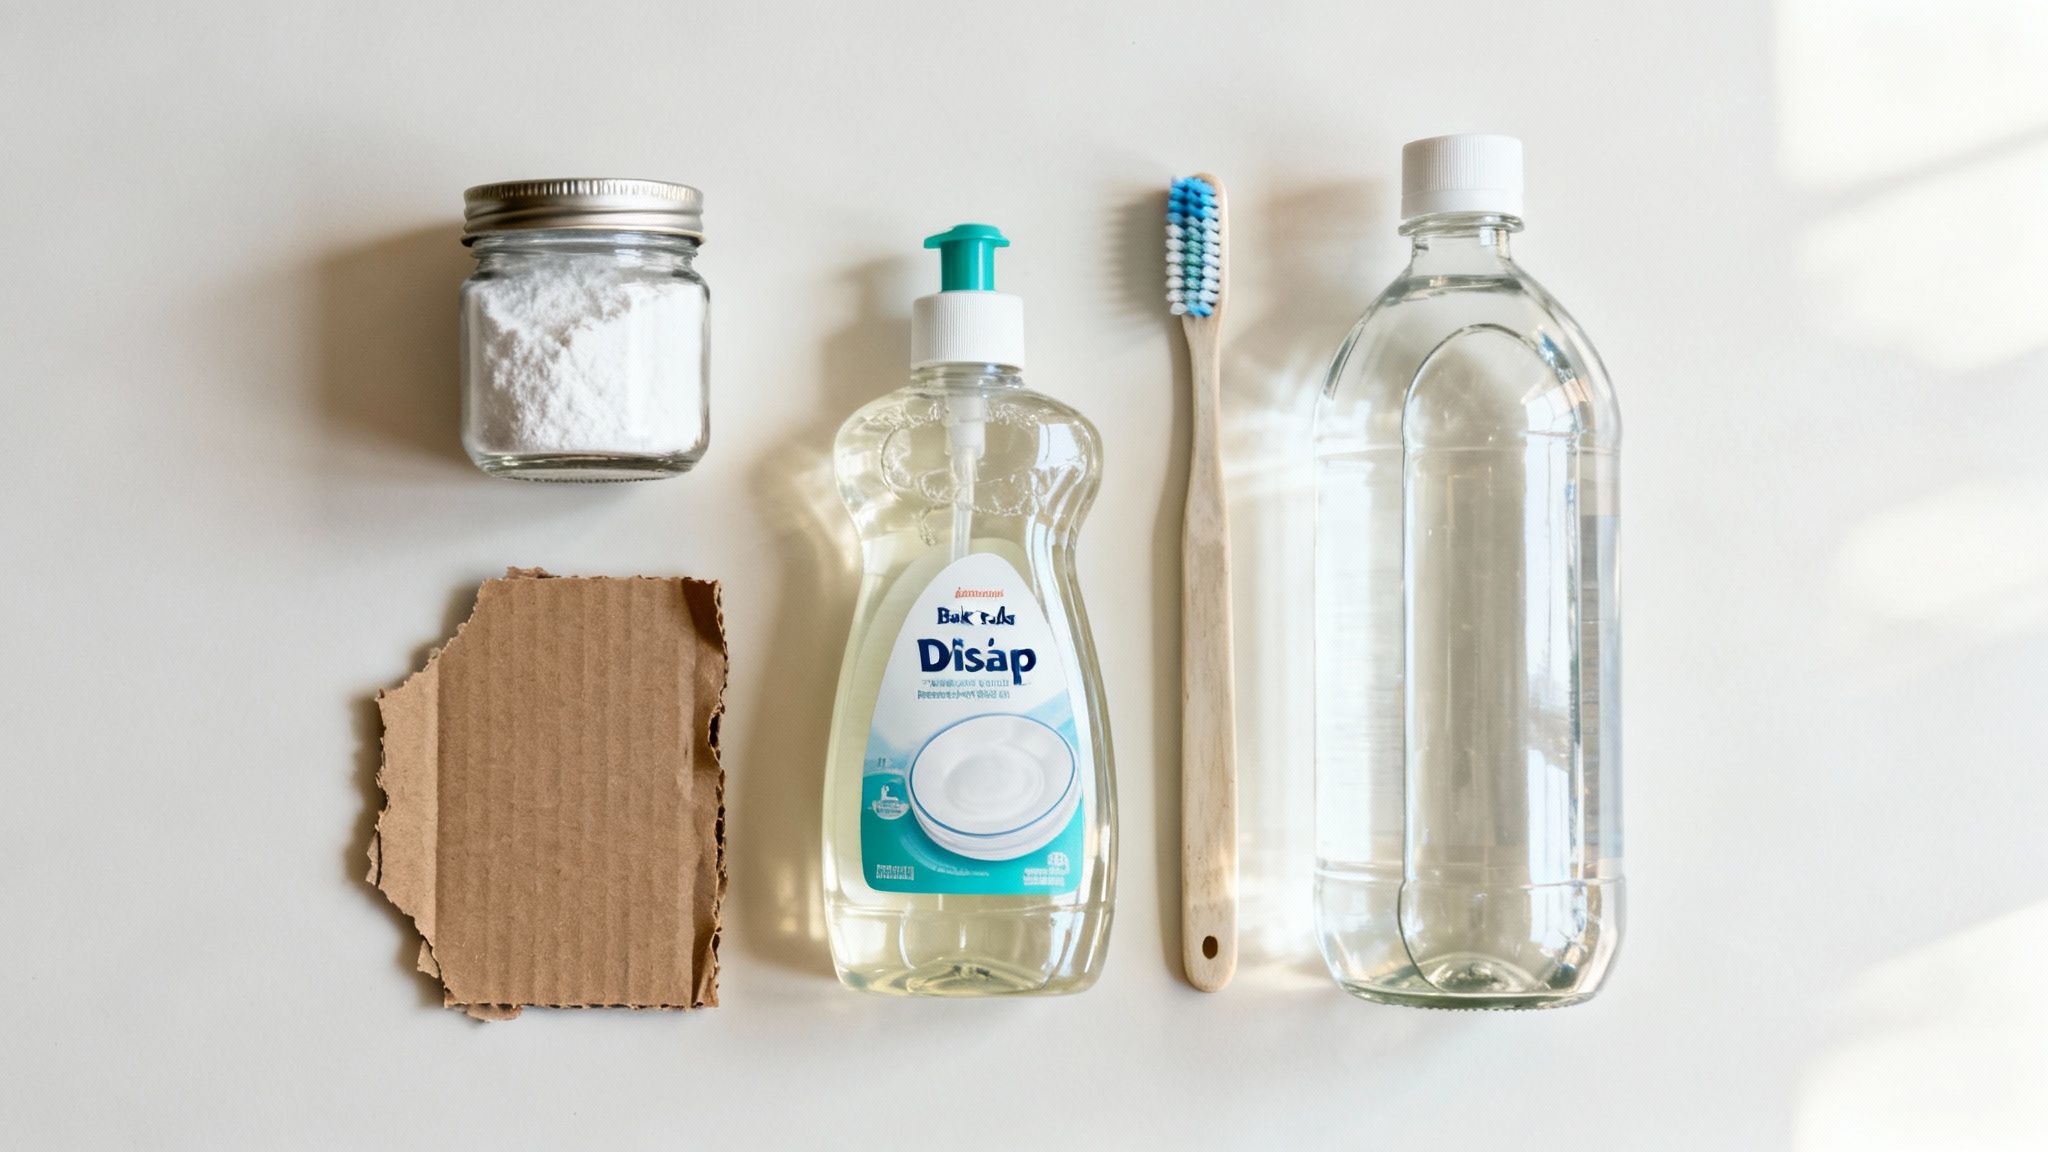
- Baking soda or cornstarch are fantastic for this. These fine powders are champions at wicking oil out of fabric fibers. The first thing you'll want to do is sprinkle a generous layer over the stain to pull as much of the grease out as possible before you even think about scrubbing.
Once you’ve done that and brushed away the excess powder, it's time to bring in your secret weapon.
Choosing Your Grease-Fighting Agent
The real star of this show is a good, grease-cutting dish soap. You know the ones—the brands famous for leaving your plates sparkling clean are just as powerful on your clothes. The soap molecules work by surrounding and breaking apart the oil, which finally allows water to rinse it all away.
You'll also need a couple of basic supplies to do the job right. I always recommend slipping a piece of cardboard inside the shirt or pants; it's a simple trick that prevents the stain and the soap from seeping through to the other side. Grab an old, soft-bristled toothbrush, too—it’s perfect for gently working the soap into the fabric without causing any pilling or damage.
It's amazing, but this simple toolkit—baking soda, dish soap, and a toothbrush—is often far more effective than many store-bought solutions because it targets the grease in two distinct, powerful steps.
When you're dealing with a grease stain, picking the right household item can make all the difference. While dish soap is my go-to, other common items can also work wonders depending on the situation.
Choosing Your Grease-Fighting Agent
Each of these items tackles the problem a little differently, so don't be afraid to combine them for a multi-pronged attack on a particularly tough stain.
Understanding the science behind why these simple items work is the key to becoming a stain-removal pro. To get a better handle on the chemistry, check out our guide on how stain removers work for every stain type. And remember, these pantry staples are incredibly versatile—many of these same ingredients are also behind some of the most effective methods for removing stubborn smells from towels.
A Proven Method for Removing Set-In Grease
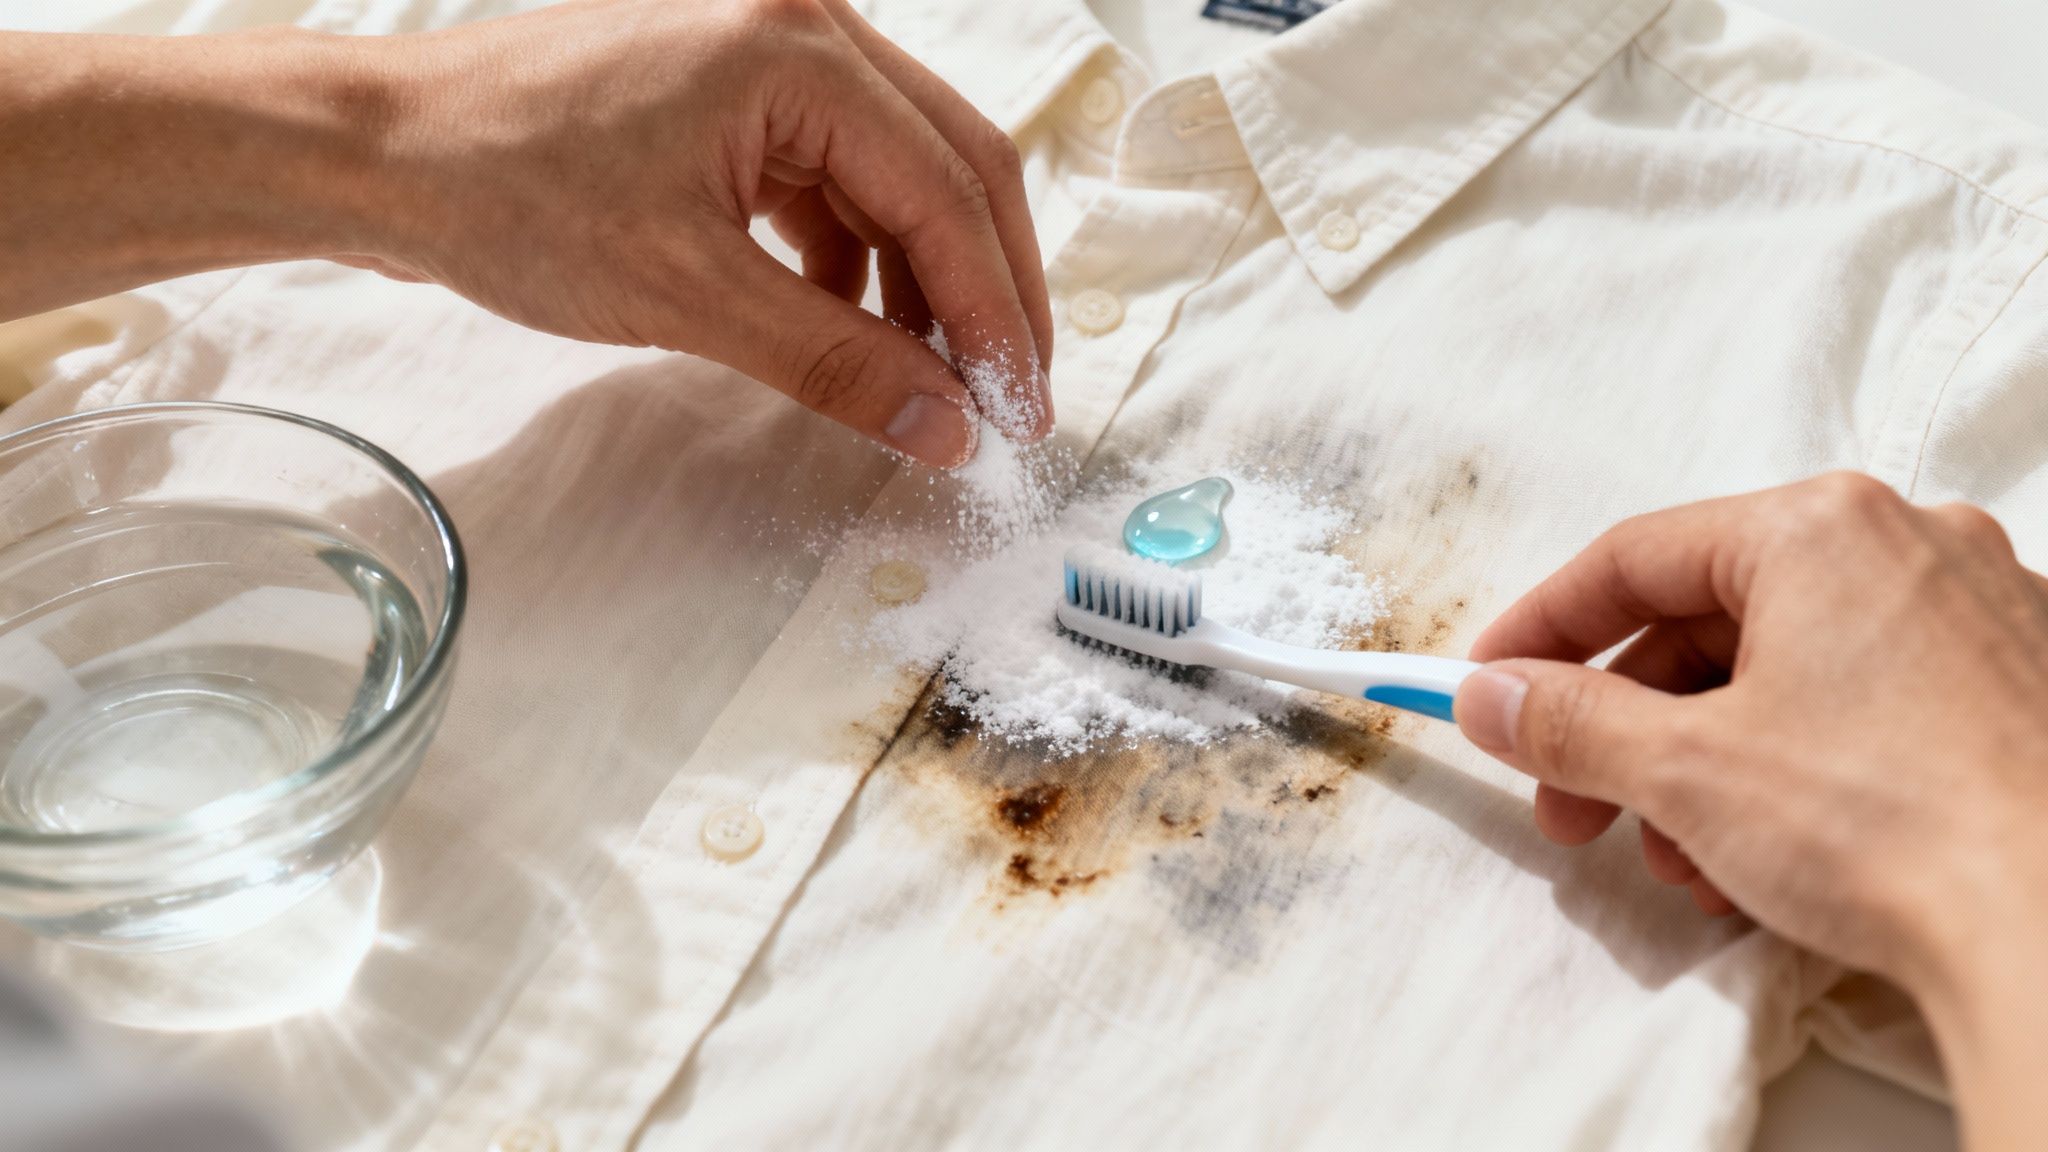
Alright, you’ve gathered your supplies. Now it’s time to get that stubborn grease stain out for good. This isn't about brute force or scrubbing until your arm gets sore. It's a bit of a science—a strategic process designed to first pull the oil out of the fabric and then break it down completely. The real keys here are patience and doing things in the right order.
Let's say you've found a dark, dried splotch of salad dressing on your favorite cotton shirt, and you know it's already been through the dryer. Don't panic. That shirt is definitely salvageable. The first rule? No water. Not yet, anyway. Since oil and water famously don't mix, adding water too early just makes the whole process harder.
First things first, you need to isolate the stain. Lay the shirt completely flat and slide a piece of cardboard or an old towel inside, right behind the grease spot. It sounds simple, but this step is critical. It acts as a barrier, preventing the oil and soap from seeping through and making a whole new stain on the back of the garment.
The Blot and Absorb Technique
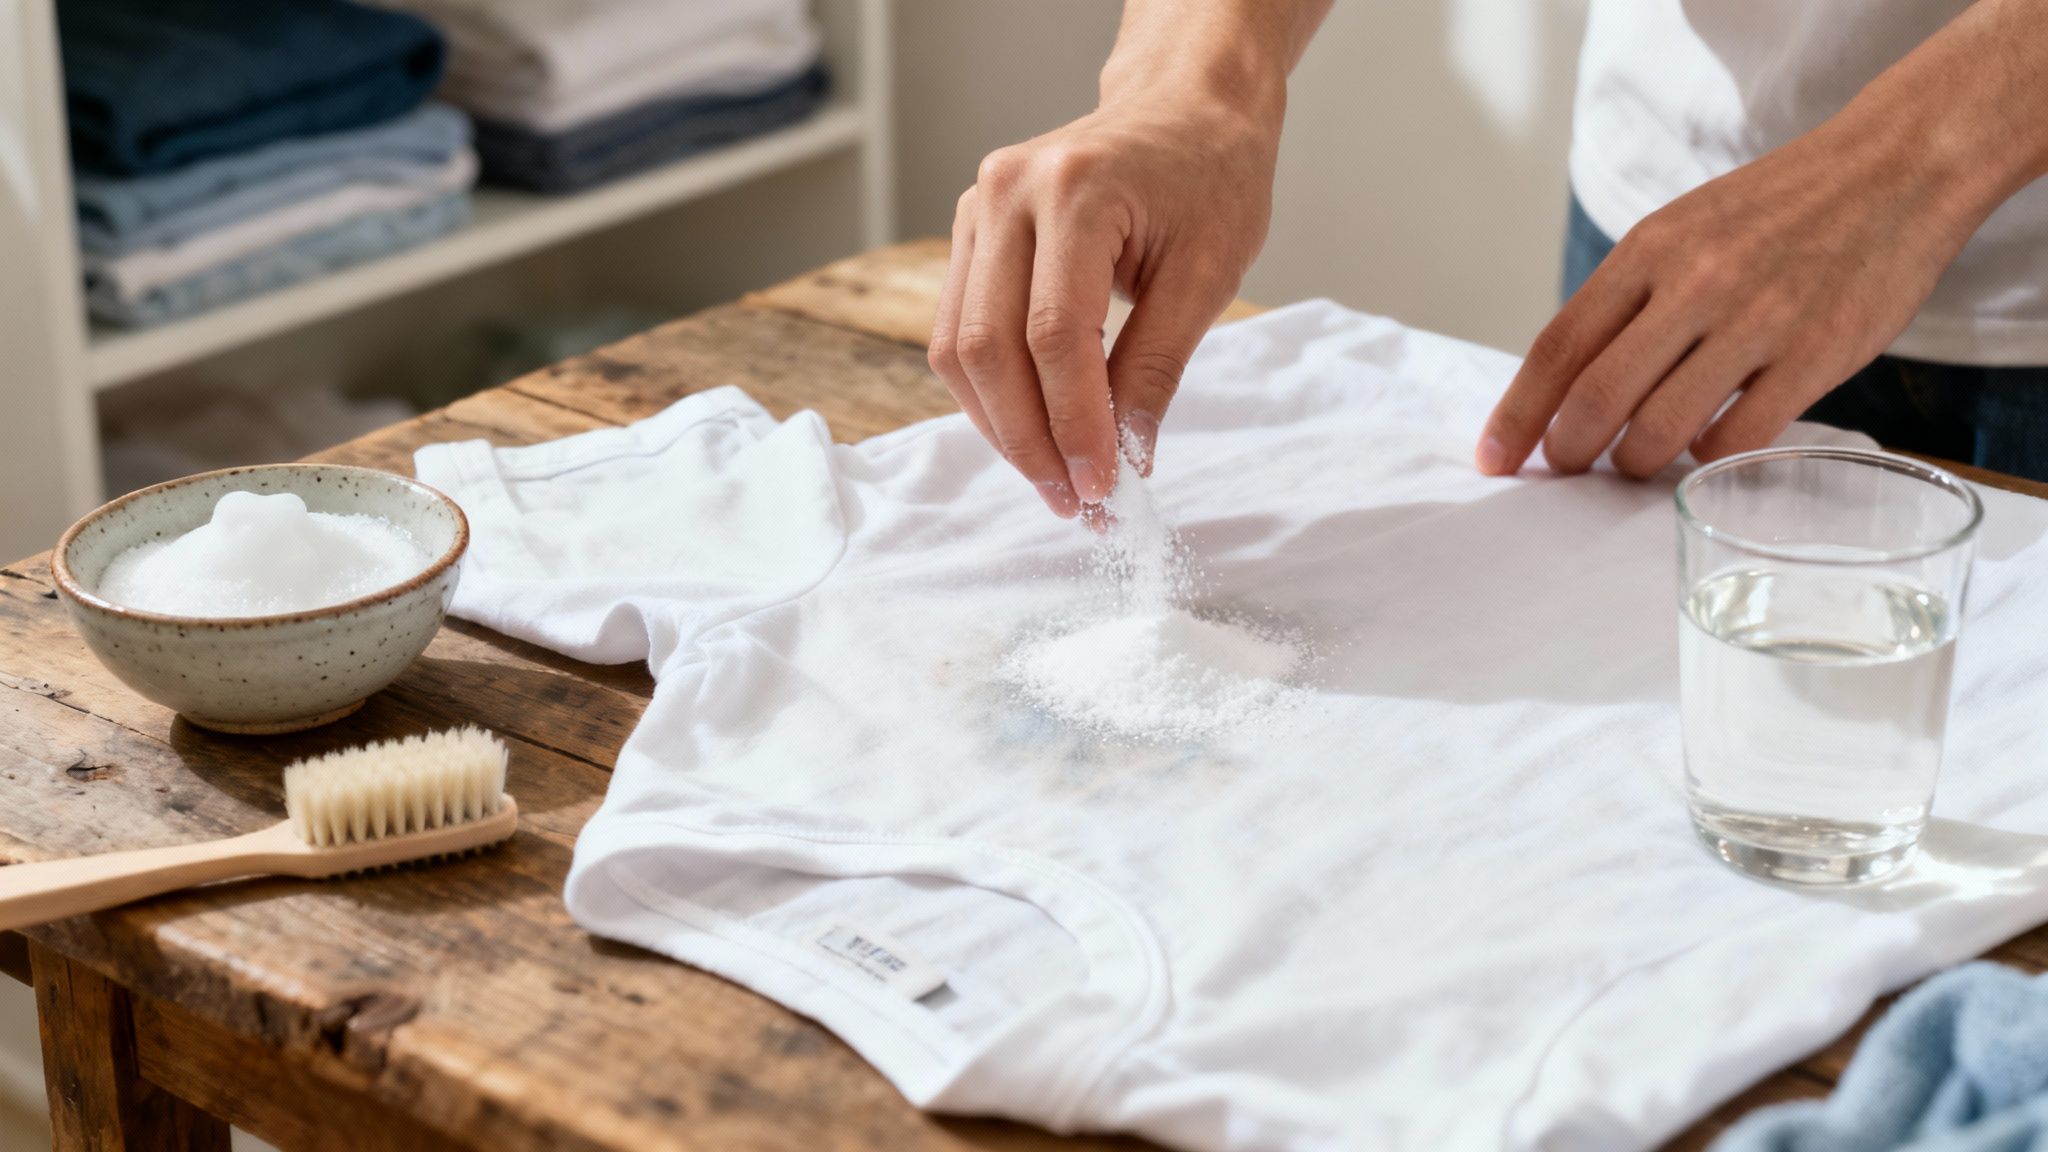
With your barrier in place, the first mission is to draw out as much of that old, set-in grease as you can. Grab your absorbent powder—baking soda or cornstarch work perfectly—and generously cover the entire stain. Don't be shy with it; you want a thick, solid layer.
Now, you wait. Let that powder sit for at least 30 minutes, but an hour is even better if you have the time. While it sits, the fine particles are busy wicking the dormant oil up and out of the fabric fibers. You might even see the powder start to look a little clumpy or discolored as it soaks up the grease. Once it’s done its job, use a soft brush or the edge of a spoon to scrape the powder away.
This absorption step is the one most people skip, but it’s arguably the most important part of the process. It does the heavy lifting before you even bring in a cleaning agent.
Breaking Down the Remaining Grease
Now for the main event. Squeeze a small amount of a strong, grease-cutting dish soap directly onto what’s left of the stain. Using an old toothbrush with soft bristles (or even just your fingertip), gently work the soap into the fabric. Use small, circular motions to create a lather that really penetrates the fibers. The goal isn't to scrub aggressively, which can damage the material, but to work the soap in thoroughly.
Let the soap sit on the stain for at least 15-20 minutes. This gives the surfactants in the soap time to get to work, surrounding and breaking apart the oil molecules that have bonded to the fabric. If you're dealing with a particularly old or stubborn stain, you can even let the soap sit for a few hours.
After the soap has had time to work its magic, it's time to rinse. Run the stained area under warm water, but here's the trick: rinse from the backside of the fabric. This helps push the grease and soap out of the fibers instead of driving them deeper in.
Finally, it's ready for the washing machine. Wash the garment on the hottest setting that the fabric can safely handle (check the care label!). Hot water is your friend here, helping to melt and flush away any last traces of oil.
When the cycle is done, do not put the item in the dryer. Inspect the spot carefully in good light to make sure the stain is 100% gone. If you see even a faint hint of it, repeat the whole process. Tossing it in the dryer will only set any remaining oil right back into the fabric, making round two much, much harder.
Adjusting Your Technique for Different Fabrics

That trusty method for kicking grease to the curb works wonders on tough fabrics like cotton and denim, but let’s be real—not every garment can take that kind of aggressive treatment. What saves your favorite pair of jeans might completely ruin a delicate blouse. The secret to success is knowing your material and adjusting your approach.
Delicate fabrics are in a league of their own. Things like silk, wool, and rayon need a much gentler touch. Forget scrubbing with a toothbrush; for these, you'll want to use your finger or a soft cloth to lightly dab the dish soap onto the stain. Getting too rough can easily fray the fibers, leaving a permanent, fuzzy mark that’s worse than the original spot.
When you're dealing with delicates, always put the fabric's health first. Gentle blotting is way safer than scrubbing, even if it takes a couple of rounds to get the job done.
For these sensitive materials, sometimes you need a more specialized game plan. Our guide on how to get oil stains out of silk, for example, walks you through the specific steps needed to protect that beautiful fabric while still tackling the spot.
Handling Synthetics and Store-Bought Removers
Then you have synthetics like polyester and nylon, which come with their own set of rules. While they’re pretty durable, they absolutely hate high heat. A hot dryer cycle can cause their plastic-based fibers to melt just enough to lock that grease stain in for good. Always, and I mean always, wash synthetics in warm or cool water and keep them far away from the dryer until you're 100% sure the stain is gone.
If you’re working with an expensive or irreplaceable piece, a store-bought stain remover might be your best bet. There’s a reason the global stain remover market hit a staggering USD 23.33 billion in 2024—people want reliable solutions that work. These products are often designed for specific fabrics and can be a smart investment when you just can't risk a DIY disaster. If you're curious, you can dig into the research on the growing stain remover market from Polaris Market Research to learn more.
Knowing When to Trust a Professional
Look, DIY methods are fantastic for most run-of-the-mill grease stains, but sometimes you have to know when to call in the pros. It's the smartest way to protect your favorite clothes. There are a few red-flag situations where a home remedy might actually do more harm than good, and it's simply better to step aside.
Think about that gorgeous velvet dress, your favorite cashmere sweater, or anything with that dreaded "dry clean only" tag. These delicate materials can be completely ruined by the same scrubbing and soaking that saves a cotton t-shirt. Pushing the limits on these fabrics is a gamble that rarely pays off.
When to Call the Experts
It helps to think of a professional cleaner as your personal stain-removal specialist. They have tools and techniques you just can’t replicate at home.
- Massive or Old Stains: If a stain covers a huge area or has stubbornly laughed off two or three of your best attempts, its bond with the fabric is probably too strong for household solutions.
- Powerful Solvents: Professionals have access to specialized, heavy-duty solvents designed to dissolve grease without damaging delicate fibers.
- Specialized Equipment: Their gear can apply treatments with incredible precision and flush out stains far more effectively than your home washing machine ever could.
Sometimes, the best way to handle a set-in grease stain is to let a professional handle it. It's a small investment to save a garment you truly love.
This specialized approach is a big reason why the market for oil stain removers is expected to hit $85 million by 2025. Professionals use the best products for the job, a topic you can learn more about by exploring these insights on the oil stain remover market. If you want a deeper dive into what makes their methods so effective, our article explaining how dry cleaners remove stains is a great place to start.
Got Questions About Grease Stain Removal?
Even when you have a solid plan, a few questions can pop up when you're staring down a stubborn, set-in grease stain. It's totally normal. Let's walk through some of the most common ones so you can get back to stain-busting with confidence.
Will Dish Soap and Baking Soda Ruin My Clothes?
This is probably the number one concern, and the good news is, this combo is generally very safe. Most clothing dyes these days are pretty tough and can easily handle a gentle degreaser like dish soap without fading.
That said, if you're working with a super vibrant shirt or a delicate fabric, it's always smart to play it safe. Just mix up a tiny bit of your cleaning paste and dab it on a hidden spot, like an inside seam. Let it sit for a bit, rinse it, and make sure everything looks good before you go all-in on the main stain.
What if This Stain Is Ancient?
We’ve all been there. You pull out a favorite shirt and discover a grease spot that’s been there for... who knows how long? An old stain is definitely trickier, but it’s not always a lost cause.
The magic ingredient here is patience. You just need to give the dish soap a lot more time to work its magic.
For a really old, set-in grease stain, don't be afraid to let the dish soap sit on it for several hours, or even overnight. This gives the soap a chance to really penetrate those fibers and break down the old, hardened oil.
You might even need to repeat the whole pre-treatment process two or three times before you finally toss it in the wash. Don't give up too soon!
Does the Water Temperature Really Matter?
Yes! This is a non-negotiable step for success. After you've pre-treated the stain, you need to wash the garment in the hottest water the fabric can safely handle. Always check the care tag first.
Why is hot water so important? It’s what actually melts and flushes away all that grease and soap you just loosened up. If you use cold water, you risk the oil turning solid again and settling right back into the fabric, which means you just wasted all that effort.
When a stain just won't budge or you're dealing with a garment that's too precious to risk, Columbia Pike Laundry has your back. Schedule a pickup and let our pros take care of the tough spots for you.
Popular Blog Articles

Meet the Author
Daniel Logan didn’t start CPL because he loved laundry. He started it because his family was drowning in time debt, and laundry was one of the biggest weights.
Mornings were chaos with two kids under 5. Evenings felt like catch-up. And weekends? Gone to sorting socks and folding piles.
He knew his story wasn’t unique. So he built a business that gave families like his just a little bit of breathing room one load at a time.
With no laundry experience but deep tech skills, Daniel rolled up his sleeves, doing every job himself while building systems that turned it into a modern laundry service that saves customers time, simplifies their lives, and delivers reliability they can count on.
That’s where CPL began. Not from a playbook, but from pain. From one dad trying to buy back time: for himself, and for every household like his.


