


How to Get Rid of Paint on Clothing: Easy Tips for Quick Results
Learn how to get rid of paint on clothing effectively with simple methods. Discover proven techniques to restore your clothes and keep them looking new.
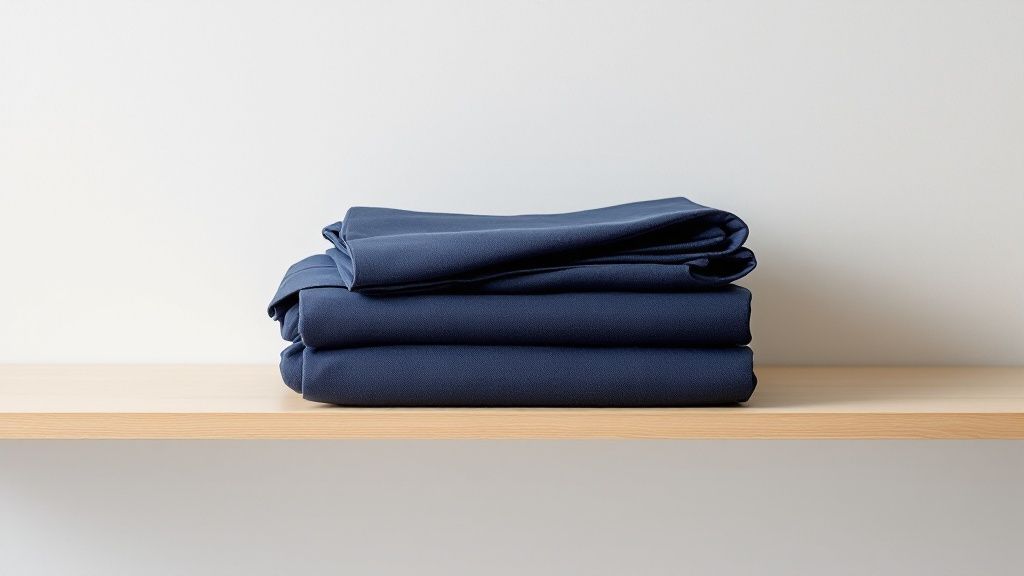
Columbia Pike Laundry offers pickup & delivery across Northern Virginia.
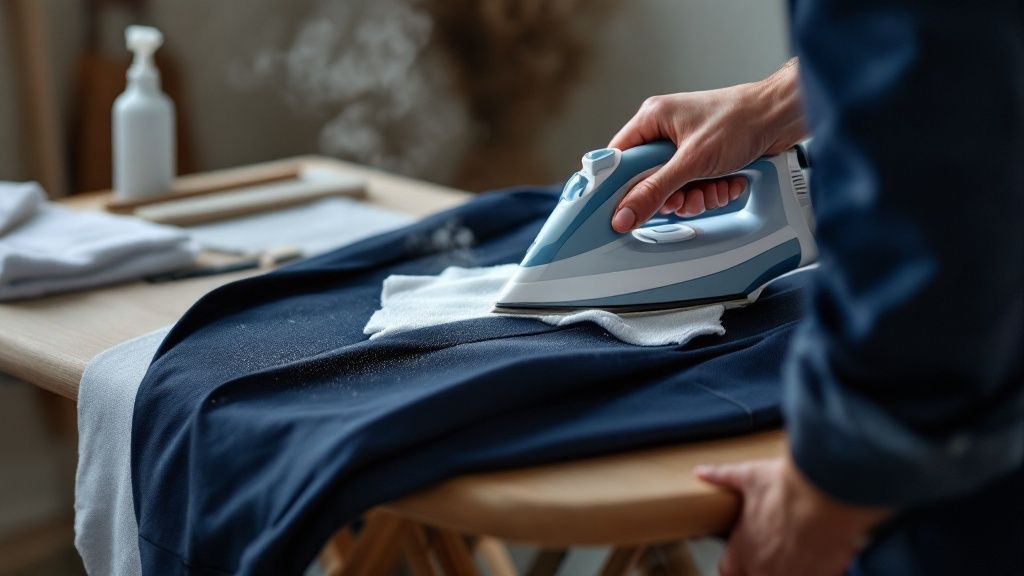
Pressing a suit isn't the same as ironing a shirt. It’s a far more delicate process. You're not just sliding a hot iron back and forth; you're using steam and gentle pressure, lifting and placing the iron with a cloth barrier to reshape the fabric without crushing its soul. This technique is key to getting that crisp, professional look without damaging the suit's structure.
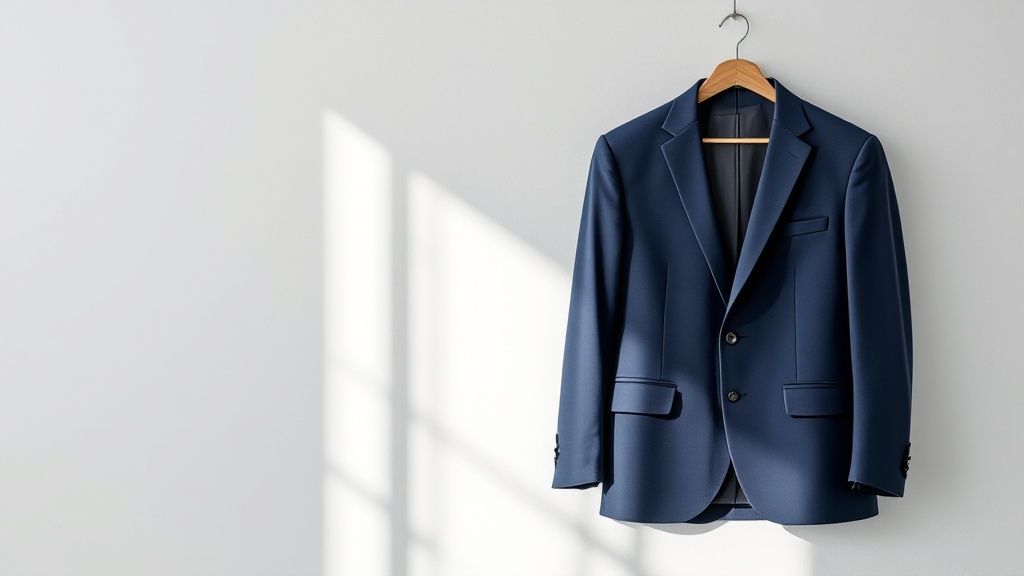
A well-pressed suit is about so much more than just getting rid of wrinkles. It’s a quiet statement of professionalism and attention to detail. The whole point is to maintain the suit’s intended shape, from the gentle roll of the lapel down to the sharp, clean crease in the trousers. You’re not just smoothing fabric—you’re preserving the tailor's original vision and extending the life of your investment.
The impact this has in the real world is huge. A sharp, well-cared-for suit can be a massive confidence booster and plays a big part in shaping first impressions, whether you’re walking into a job interview or attending a formal event.
Let's be honest, suits aren't cheap. They're a significant part of a wardrobe, and keeping them in top shape is essential for longevity. The men's suits market is on track to hit USD 18.20 billion by 2025, which just goes to show how much value we place on these garments. High-quality suits, especially custom ones, are built with a precise structure that the wrong kind of heat and pressure can completely ruin.
This is exactly why getting the pressing technique right is so important. It ensures that every detail, from the shoulder padding to the natural drape of the fabric, stays just as the maker intended. To really get a feel for why a crisp suit makes such a statement, you can dive into the artistry of bespoke tailoring and see how it sets the standard.
A well-pressed suit does more than just look good; it communicates respect for yourself and the occasion. It's the final touch that completes a polished appearance.
Of course, proper care doesn't stop once the iron cools down. How you store your suit is just as crucial for keeping it in pristine condition and preventing wrinkles between wears. Make sure you check out our guide on https://www.columbiapikelaundry.com/post/the-art-of-storing-clothes-properly to fully protect your investment.
If you want to press a suit like a professional, you'll need more than just a standard iron. I've seen too many people try to just crank up the heat and end up with a shiny, damaged mess. Believe me, that's a quick way to ruin the delicate wool fibers that give your suit its shape and luxurious feel.
The real secret starts with building the right toolkit.
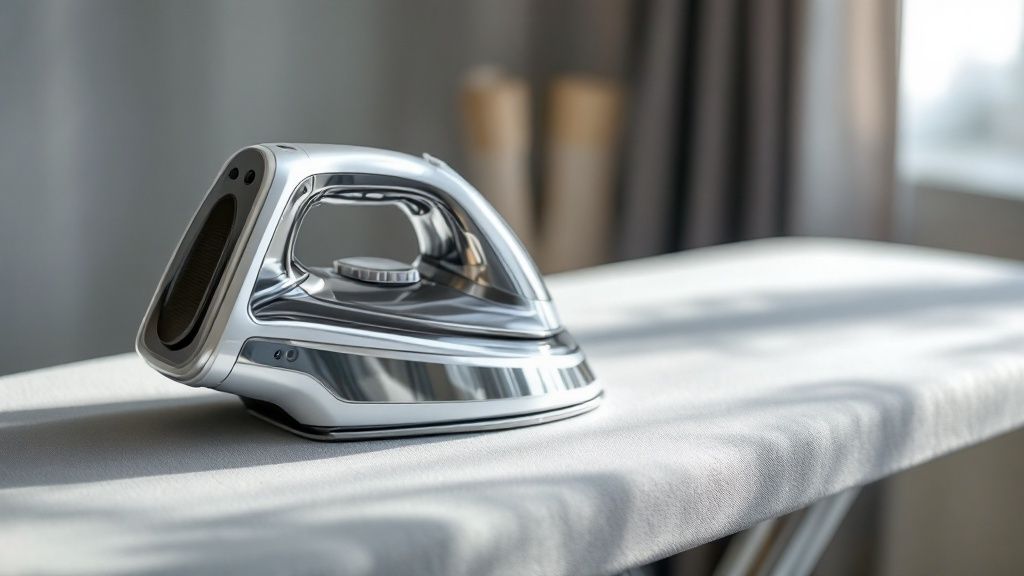
Your most crucial piece of gear is a quality steam iron. You’re looking for one with reliable, adjustable temperature settings—a dedicated wool or delicate setting is non-negotiable. It also needs a powerful steam burst function. This is what lets you push moisture deep into the fabric without having to apply excessive, direct heat that can scorch the material.
Next up, and just as important, is a pressing cloth. This is nothing more than a simple piece of fabric (usually cotton or muslin) that acts as a protective shield between your hot iron and the suit. It’s your best defense against scorching and that dreaded shiny finish that screams "I ironed this at home." Plus, it helps distribute the heat and steam much more evenly for a consistent result.
Pro Tip: In a pinch and don't have a pressing cloth? A clean, white, 100% cotton pillowcase or even a large handkerchief works beautifully. Just make absolutely sure it has no dyes that could bleed onto your suit when heated.
While a good iron and a pressing cloth are the bare minimum, a couple of extra tools will seriously level up your game and make the whole process a lot less frustrating. A sturdy, well-padded ironing board is a must for a stable, flat surface. Trying to press a large jacket on an uneven surface is a recipe for creating more wrinkles than you remove.
For that truly tailored finish, there are two specialized tools that are absolute game-changers:
To really see the difference, let’s break down the basic tools you need versus the ones the pros use for that perfect finish.
This table shows the gear that gets the job done compared to the upgrades that will give you that flawless, straight-from-the-tailor look.
As you can see, you can get great results with the essentials. But investing in a few professional tools, like a tailor's ham, can make a significant difference in the final look and feel of your suit.
The suit jacket can feel like the final boss of pressing. With all its layers of canvas, lining, and padding, it's easy to get intimidated. But trust me, it’s completely manageable if you follow a specific order.
The trick is to work from the inside out and from smaller sections to the bigger ones. This simple strategy keeps you from accidentally wrinkling an area you just perfected.
First things first, turn the jacket inside out and get the lining out of the way. It’s the easiest part and a great warm-up. Just give the lining in the body and sleeves a gentle press, using your pressing cloth and a good amount of steam. This smooths out the foundation before you even touch the outside.
With the lining done, turn the jacket right side out again. Now it's time for the sleeves, and this is where a sleeve board is worth its weight in gold. Slide the sleeve right onto the board and you can press it perfectly round, avoiding that dreaded amateur-looking center crease.
Don't have one? No problem. Just roll a thick towel up tightly and slide it inside the sleeve. It works surprisingly well as a stand-in.
After the sleeves, you can move on to the large front and back panels of the jacket. Lay one section flat on the ironing board at a time. The key here is to lift and place the iron, not slide it around like you would on a t-shirt. Work your way around the jacket methodically, making sure each panel is smooth before you rotate to the next.
Crucial Reminder: Always, always work around the buttons. Never press directly over them. The heat can easily crack or melt them, and worse, they can leave a permanent shiny impression on the fabric underneath.
The final—and most delicate—part of the job is handling the shoulders, collar, and lapels. These areas are what give the jacket its entire structure, and flattening them is the single biggest mistake you can make. This is where a tailor's ham becomes non-negotiable.
Drape the shoulder area over the ham's curve to preserve its natural, built-in shape while you press. For the lapels, slip the ham underneath and gently press along their length. You have to respect the "roll"—that gentle, soft curve where the lapel folds over. Whatever you do, don’t try to iron a hard, flat crease into it.
Use very light pressure and quick bursts of steam, letting the shape of the ham do all the work for you. This technique is what ensures your lapels and collar keep their soft, three-dimensional form, giving your suit that sharp, professionally finished look we're all after.
A sharp, single crease running down the front of your suit trousers is the detail that elevates the entire look from good to impeccable. It seems tricky, but the secret is all in the setup. Before you even think about the crease itself, you have to prep the foundation.
First things first, press the upper sections of the trousers—the waistband, pockets, and the seat. Get these areas laid out flat on your ironing board and, using your pressing cloth, smooth them out with some gentle steam. This gives you a completely flat, wrinkle-free canvas to work with when it's time to align the legs.
This is it. This is the moment that makes or breaks the whole operation and where most people go wrong. The goal is to sidestep that dreaded "double crease" by aligning the legs perfectly from the get-go.
Lay the trousers on the board so one leg is directly on top of the other. Now, here’s the key: carefully match the seams. You need to align the inseam and the outseam of both legs so they lay perfectly flush, from the hem all the way up to the crotch. This precise alignment is what creates the perfect guide for your crease.
Once the seams are perfectly stacked, you've set the path for a single, sharp crease. Take your time here—a few extra seconds of adjustment prevents a frustrating mistake that’s a pain to undo.
With the legs flawlessly aligned, you’re ready to lock in that razor-sharp line.
Fold the top leg back over the waistband, which will expose the inseam of the bottom leg. Place your pressing cloth over the fabric, starting near the top.
Now, with your iron, press down firmly and give it a good burst of steam. Hold for just a few seconds, then—and this is important—lift the iron completely off the fabric before moving to the next section. Work your way down the leg in this deliberate lift-and-press motion.
Once one side is done, flip the trousers over and repeat the exact same process on the other leg. This careful, methodical approach is crucial for high-quality garments, especially in the booming custom suits market. It’s no surprise that the North American market alone is projected to hit USD 1.81 billion by 2025; it's a clear sign that people really value a perfectly finished garment. You can read more about the growth of the custom suit industry on cognitivemarketresearch.com.
By avoiding that back-and-forth sliding motion of everyday ironing, you protect the fabric’s integrity and end up with a crisp, professional-looking crease every single time.
Sometimes, knowing what not to do when pressing a suit is just as important as knowing the right steps. It's surprisingly easy to make a costly mistake, and a few common errors can cause irreversible damage, turning a beautiful garment into a shiny, misshapen mess.
The single biggest mistake I see is applying a hot iron directly to the suit's fabric. This is a fast track to disaster, especially for natural fibers. On a wool suit, for instance, that intense, direct heat crushes and melts the delicate fibers, leaving a permanent, unnatural sheen. It's a telltale sign of scorching that completely ruins the material’s texture and drape. Always, always use a pressing cloth as a protective barrier.
Beyond scorching the fabric, a few other habits can cause serious trouble.
Using a back-and-forth sliding motion, like you would on a cotton shirt, is another major no-no. That kind of friction can easily stretch and distort the suit’s carefully constructed shape. Instead, get into the habit of lifting and placing the iron, letting the steam and gentle pressure do the work for you.
Here are a few other issues to watch out for:
Protecting fabrics like wool requires a specific approach. If you’re unsure, our guide on caring for wool garments provides more detailed advice to keep them looking their best.
Given the delicate care required for high-end garments, it's no wonder the professional garment care market is growing. The global dry-cleaning and laundry services market was valued at USD 25.09 billion in 2023, which just shows how many people are turning to experts. You can discover more insights about the laundry services market here.
Even with the best instructions, you're bound to run into a few questions when you're standing over your suit, iron in hand. Let's walk through some of the most common ones I hear, so you can press with total confidence.
Probably the biggest question is how often you should even be doing this. My advice? Only press a suit when it's visibly wrinkled. Pressing too often can actually wear out the fibers prematurely.
For those small wrinkles that pop up between wears, a good garment steamer is your best friend—it’s much gentler. Save the full press for when you really need to bring back that sharp structure and reset the crease in your trousers.
It’s easy to assume all suits are created equal, but they definitely aren’t. A common hang-up is how to handle a linen or cotton suit versus a traditional wool one. The good news is the core technique—that up-and-down pressing motion—doesn't change. The crucial difference is the heat setting.
Linen and cotton are tough fabrics; they can handle much higher temperatures than wool. You’ll still want to use a pressing cloth (especially on dark colors to prevent shine), but you can be a bit more generous with the heat and steam to knock out those stubborn wrinkles that plant-based fabrics are known for.
It's worth repeating: there’s a huge difference between pressing and ironing. Ironing is that back-and-forth sliding motion you use on a dress shirt. Do that to a suit, and you'll stretch and distort the fibers. Pressing is the right way—place the iron down, steam, lift it, and move to the next section. This sets the fabric's shape without damaging it.
What do you do if your suit jacket looks a little shiny after you've pressed it? That unwanted sheen is usually a sign that the fabric has been damaged by too much direct heat. It happens when you skip the pressing cloth or crank the iron's temperature too high, which essentially melts the very top layer of the fibers.
Unfortunately, this kind of damage is often permanent. This is exactly why that pressing cloth isn't just a suggestion—it’s a non-negotiable part of the process.
Proper suit care really is a science, and it’s a huge part of what professionals focus on. If you want to peek behind the curtain, you can learn more about how dry cleaning works and see the expert-level methods used to protect fine garments.
Tired of worrying about wrinkles and proper garment care? Let the professionals at Columbia Pike Laundry handle it. We offer expert dry cleaning and pressing services to keep your suits looking impeccable, so you can focus on what matters. Schedule your first pickup today!
Free pickup, expert care, delivered back to your door.

Daniel Logan didn’t start CPL because he loved laundry. He started it because his family was drowning in time debt, and laundry was one of the biggest weights.
Mornings were chaos with two kids under 5. Evenings felt like catch-up. And weekends? Gone to sorting socks and folding piles.
He knew his story wasn’t unique. So he built a business that gave families like his just a little bit of breathing room one load at a time.
With no laundry experience but deep tech skills, Daniel rolled up his sleeves, doing every job himself while building systems that turned it into a modern laundry service that saves customers time, simplifies their lives, and delivers reliability they can count on.
That’s where CPL began. Not from a playbook, but from pain. From one dad trying to buy back time: for himself, and for every household like his.
Free pickup, expert care, delivered back to your door.