Sewing a Patch on Jeans: A Practical Guide
Columbia Pike Laundry offers pickup & delivery across Northern Virginia.
You pull on your favorite jeans, feel that familiar softness at the knees or thigh, and then spot it. A hole. Maybe it started as thinning fabric and now it’s big enough to catch a toe when you get dressed. Maybe your child’s playground jeans blew out at the knee again. Maybe you’ve been meaning to fix them for weeks, but life keeps moving.
That’s exactly why sewing a patch on jeans is such a useful skill. It doesn’t have to be fancy. It just needs to be sturdy, practical, and worth the time you have. And if you’d rather not spend your evening with thread in your teeth and a seam ripper in hand, that’s okay too. Knowing how the repair works helps you decide whether to do it yourself or hand it off with confidence.
From Worn Out to Well Loved
A hole in jeans can feel annoying in the moment, especially when the pair fits better than anything you could buy new. But patched denim has a long history of turning damage into something useful, and sometimes even beautiful.
Why patched jeans never really went away
Patches on jeans started as a practical repair method in the 1960s, then shifted from a sign of hardship to a symbol of rebellion with the hippie movement, before peaking again in the 1970s with punk and rock scenes where custom patches became part of personal style, as noted in this history of patches and denim culture.
That history matters because it changes how you look at a repair. A patch isn’t just a fix. It’s evidence that a garment still has value.
If you’ve ever wondered why one pair of jeans wears through at the inner thigh while another lasts longer, a lot of it comes down to fiber stress, friction, washing habits, and the way fabric breaks down over time. If you want the plain-English version, this piece on fabric durability explained is a helpful companion.
Practical rule: If the rest of the jeans still fit well and the surrounding fabric feels reasonably stable, a patch is often worth doing.
A repair can save the jeans you already love
Busy people often put off mending because it seems fiddly. That’s fair. Jeans are thick, seams get in the way, and knees are curved. But patching is one of the few clothing repairs that can be simple and forgiving.
You don’t need perfection. You need a repair that matches your life.
- For everyday wear: A hidden patch works well when you want the jeans to look as close to normal as possible.
- For kids’ jeans or casual pairs: A visible patch is fast to monitor later because you can see if stitches start loosening.
- For sentimental favorites: Decorative mending lets the repair become part of the garment’s story.
There’s also something grounding about mending instead of tossing. You notice the fabric, slow down for a bit, and make one useful thing last longer. That’s a small act, but it adds up in a house full of tasks that usually disappear the minute you finish them.
Gathering Your Patching Toolkit
A good jeans-mending kit should feel more like a drawer of reliable basics than a new hobby you have to manage. If your week is already full, that matters. The goal is to keep the repair simple, strong, and worth the time you spend on it.

The core supplies that matter
Start with patch fabric. A scrap from old jeans usually works best because it behaves like the fabric you’re repairing. If the patch is much heavier, the area can turn stiff and rub strangely. If it’s much lighter, the patch may wear through before the jeans do.
Then pick polyester thread in a color close to the denim. Polyester has enough give and strength for everyday jean repairs, especially in spots that bend and rub a lot. Matching the color helps the stitching fade into the fabric, which is useful if you want a low-profile mend.
Needles are the part many busy beginners overlook, but they make a huge difference. A fresh needle works like a sharp kitchen knife. It does cleaner work with less struggle.
- Machine needle: A 90/14 or 100/16 denim needle is a solid choice for most jean patching.
- Hand needle: Use a sharp, sturdy needle that can pass through thick layers without flexing too much.
- Helpful extras: Small sharp scissors, pins or clips, a ruler, chalk, and a thimble for hand sewing.
If you’re starting from scratch and want help choosing dependable basics, this guide for professional sewing artisans gives a useful overview without turning the shopping list into a project of its own.
Sew-on or iron-on
This choice trips people up because iron-on patches sound faster. Sometimes they are, at least at first. The catch is that denim gets tugged, folded, sat on, washed, and dried over and over, so adhesive alone usually is not the part doing the hard work for long.
A sewn patch holds because the thread anchors the repair into stable fabric around the weak spot. Iron-on adhesive can still be helpful as a temporary helper, especially for keeping a hidden patch from shifting while you sew. If you want to check whether your jeans can safely handle the heat setting for fusible products, the Columbia Pike Laundry garment care tips are a quick refresher.
Practical rule: Adhesive can help with setup. Stitches are what make the repair last.
A quick kit for real life
If you want the shortest shopping list that still covers most jean repairs, keep these on hand:
- Denim scraps from old jeans
- Polyester thread in a close color match
- A fresh denim needle for your machine
- Lightweight fusible interfacing or an iron-on helper layer
- Good scissors and pins or clips
That small kit covers a lot, including knees, inner thighs, and pocket corners. If the jeans are badly shredded, the fabric around the hole feels thin in a wide area, or the damage runs into bulky seams, sending them to a tailor or alteration shop may be the faster and less stressful choice. Mending at home is satisfying and sustainable. Handing off a tricky repair is also a perfectly practical way to keep a well-loved pair in use.
Prepping Your Jeans for a Perfect Patch
A strong patch starts before the first stitch. Most patch failures aren’t dramatic sewing mistakes. They come from rushing the setup, working on dirty fabric, or placing the patch over cloth that hasn’t been flattened and checked.
Start clean and flat
Wash the jeans first. Dirt, body oil, and detergent residue make fabric harder to handle, and anything sticky or grimy can interfere with prep materials. If you’re not sure whether the jeans should be washed warm, cold, or handled more gently, these Columbia Pike Laundry garment care tips are a good refresher.
After washing, press the damaged area so it lies flat. Don’t stretch the hole open while ironing. Just smooth the area back into its natural shape.
That phrase matters: natural shape. If you flatten the fabric aggressively, you can measure the damage wrong and cut a patch that shifts later.
Check the damage before you cut anything
Look at the hole and the fabric around it. The actual weak area is often larger than the opening you see.
Ask yourself:
- Is the fabric around the hole thin or fuzzy? If yes, the patch needs to extend beyond that weak zone.
- Is the tear near a bulky seam? If yes, decide whether hand sewing will be easier than wrestling the leg under a machine.
- Are there loose threads hanging over the opening? Trim only the messy bits that get in the way. Don’t cut away stable fabric just to make the hole look neat.
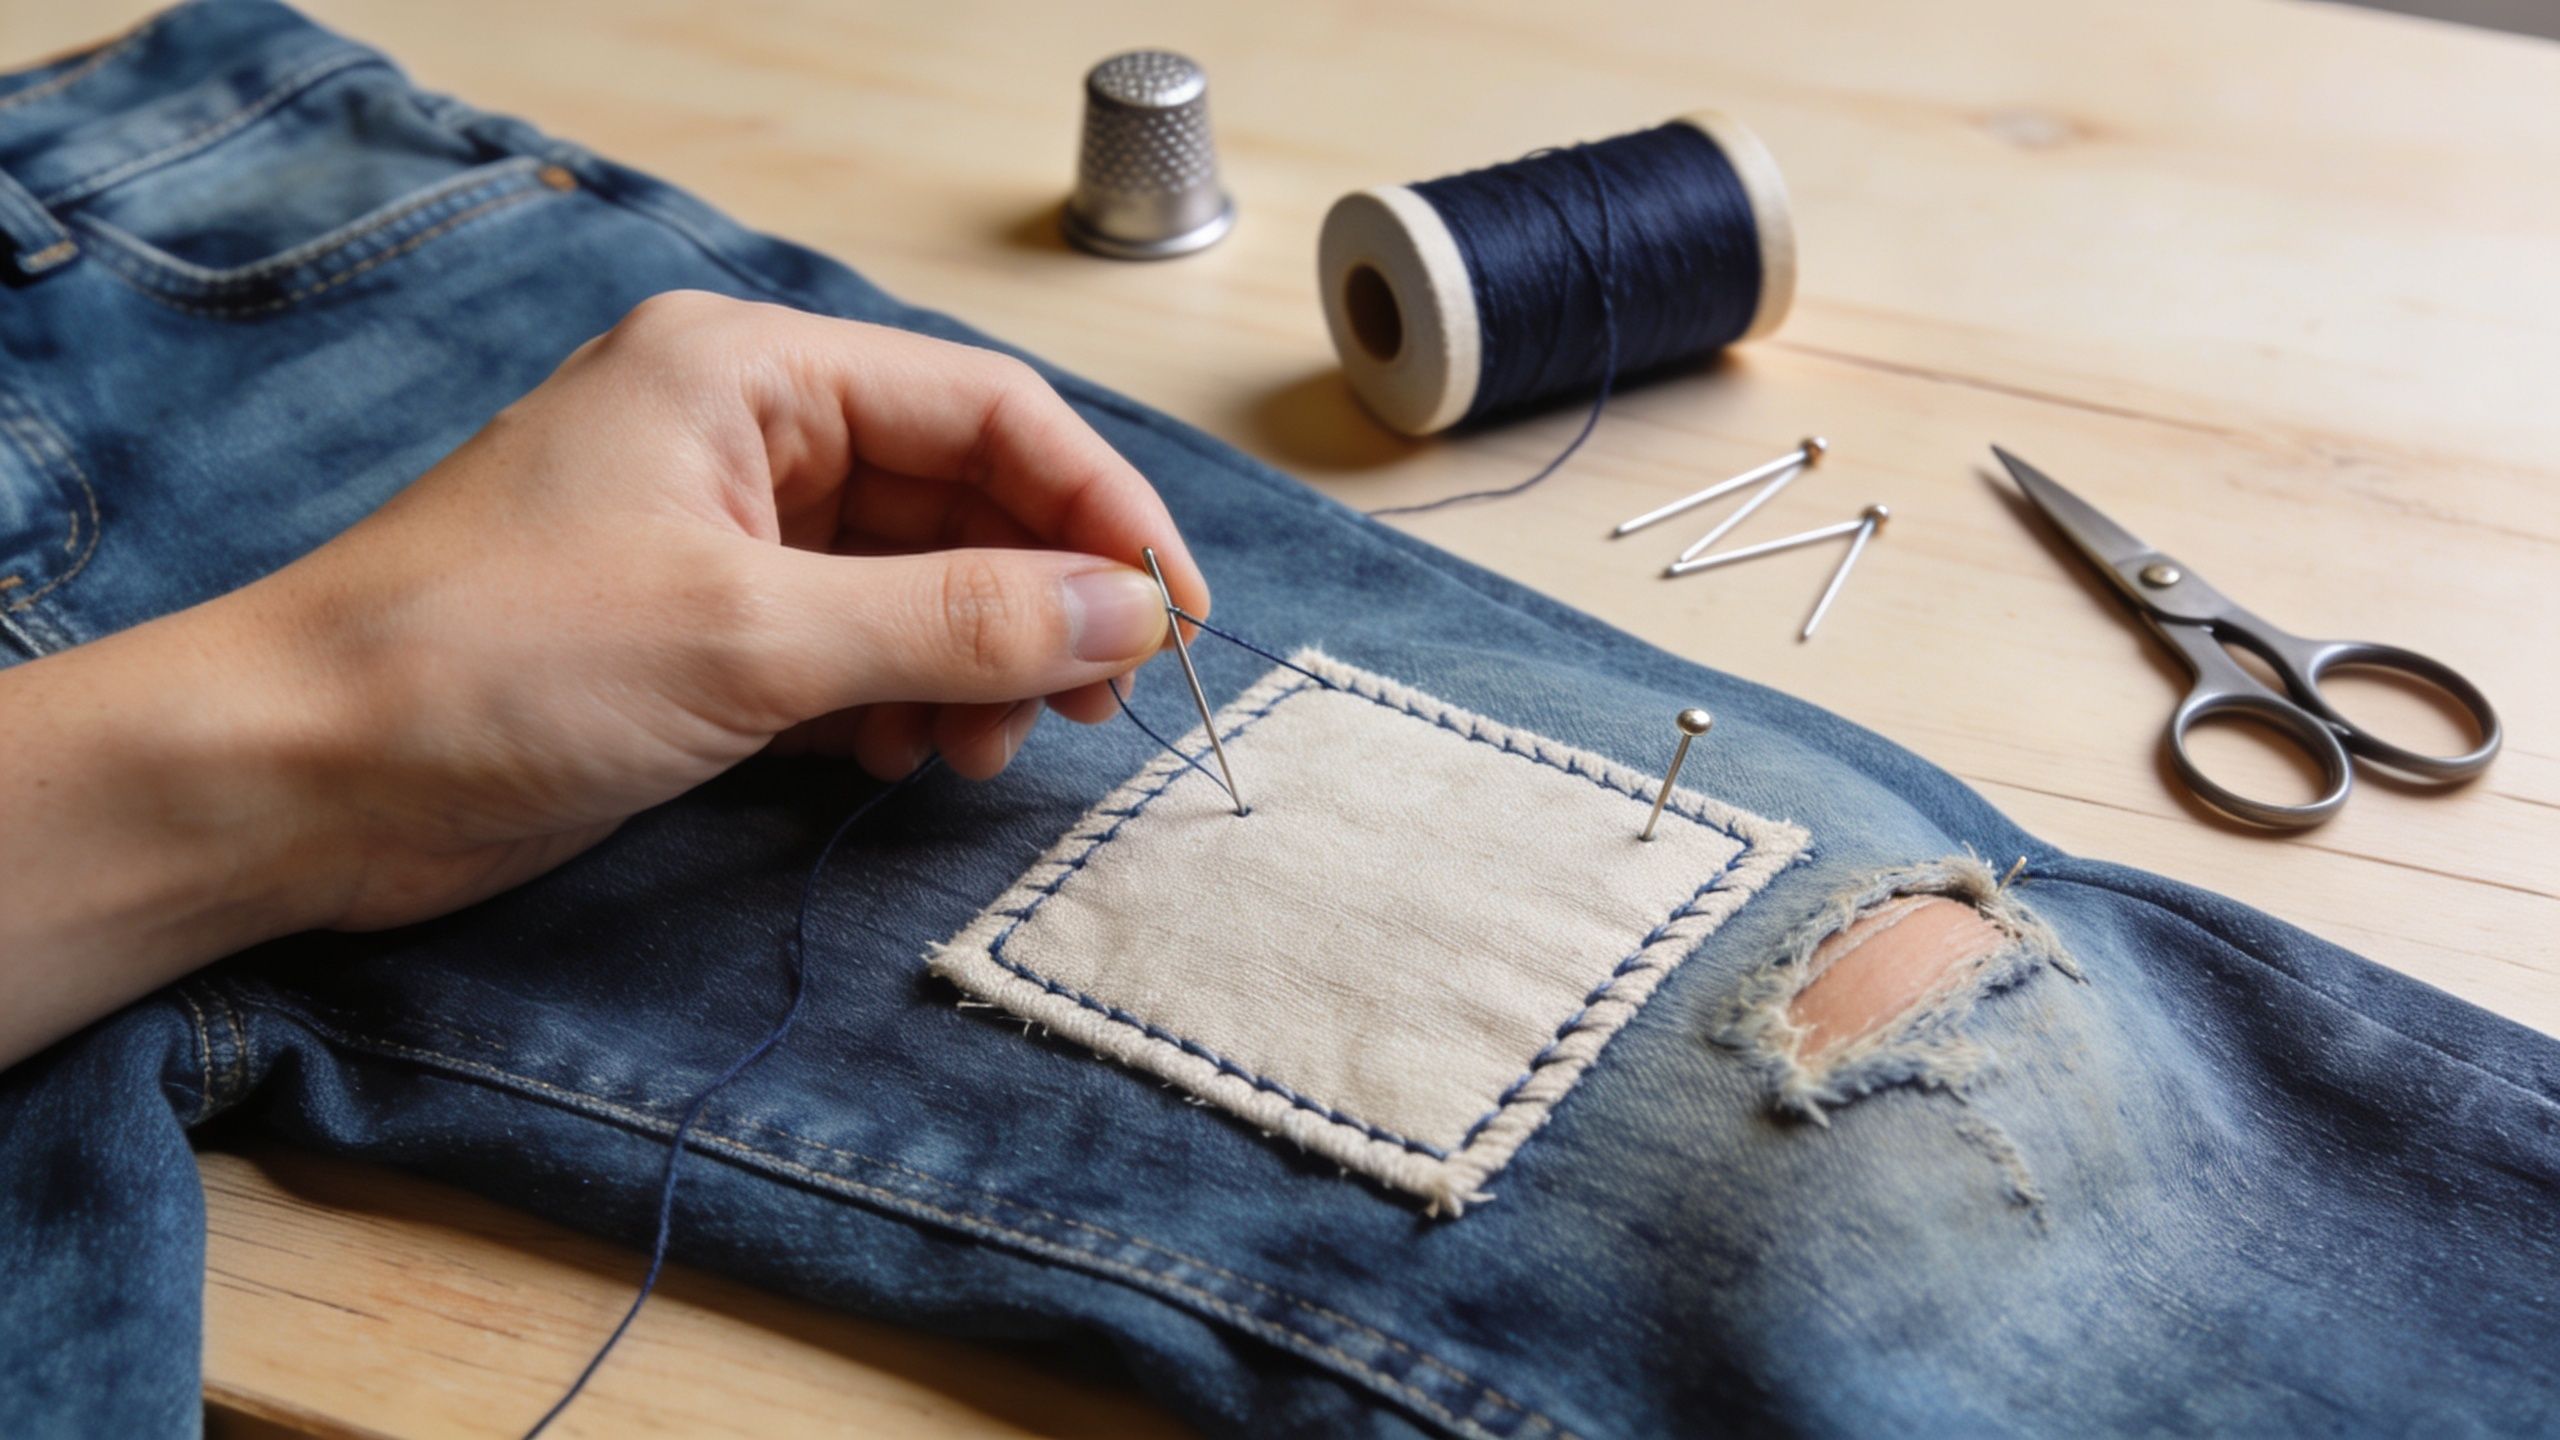
Mark the patch placement
Before sewing a patch on jeans, place the patch where it will sit and check it from both sides. If it’s a hidden repair, turn the jeans inside out and center the patch behind the damage. If it’s visible mending, make sure the shape looks intentional from the front.
A few habits make this easier:
- Use chalk lightly: Mark the outer area you want the patch to cover.
- Pin with the jeans lying naturally: Twisted denim gives you crooked patch placement.
- Test movement: Bend the knee area or hold the thigh section curved in your hands to see whether the patch will buckle.
A patch that looks slightly oversized on the table often looks exactly right once the jeans are worn.
If prep feels slow, that’s normal. This is the part that keeps the final repair from puckering, sliding, or ending up half an inch off-center.
Mastering Hand-Sewing and Machine Techniques
Some people want a needle, thread, and ten quiet minutes. Others want the machine to do the heavy lifting. Both approaches work. The best one depends on where the hole is, how visible you want the repair to be, and how much patience you have for wrestling denim under a presser foot.

Hand sewing when you want control
Hand sewing shines in awkward spots like knees, pocket corners, and narrow pant legs where machine access is annoying. It also lets you slow down and feel what the layers are doing.
If you’re rusty on basic motion, this roundup of High Country Quilts hand sewing advice gives a good visual refresher.
For simple patching, two stitches do most of the work:
- Whipstitch holds the edge of a patch in place and is easy to learn.
- Running stitch secures the body of the patch and can be repeated in rows for reinforcement.
The key is even tension. Pull too tight and the denim puckers. Leave the thread too loose and the patch lifts away from the fabric.
Choosing the right hand stitch
| Stitch Type | Best For | Strength | Appearance |
|---|---|---|---|
| Whipstitch | Attaching patch edges by hand | Good for edge control | Visible, slightly raised |
| Running stitch | Reinforcing across the patch body | Good when stitched in multiple rows | Simple and understated |
| Backstitch | High-stress areas needing a firmer seam | Strong | More noticeable but tidy |
A quick note on appearance: the neatest hand-sewn patch is usually the one with the most consistent stitch spacing, not the tiniest stitches.
Sew for stability first, beauty second. Beauty usually follows.
Machine sewing when you want speed and structure
Machine sewing is faster once the jeans are positioned properly. It’s especially useful for hidden repairs because you can build a dense reinforcement area that spreads stress across the damaged fabric.
The verified hidden patch method is specific and worth following closely. Cut a denim scrap 0.25 to 0.5 inches larger than the hole on all sides, fuse lightweight interfacing to it, and place it inside the jeans. Sew around the tear with a straight stitch using a 90/14 or 100/16 denim needle. Then secure the frayed area from the right side with a dense grid of alternating straight and zigzag stitches. According to this hidden patch repair method, that approach can reduce re-tear risk by up to 70% compared with a simple single-pass repair.
That sounds technical, but the logic is simple. The inside patch gives support. The stitching on the outside locks the weak fibers down so they stop pulling apart.
Hand sewing versus machine sewing
Here’s the practical comparison most busy people care about:
- Pick hand sewing if the hole is in a cramped spot, you don’t own a machine, or you want a calmer, visible repair.
- Pick machine sewing if the area gets heavy wear and you want a stronger hidden mend.
- Pick either method with a visible patch if you’re okay letting the repair show and want to finish without overthinking color matching.
If the hole sits right against a thick seam and the machine keeps bunching, stop before you force it. Denim punishes impatience. In that case, hand stitching may be easier, or the job may be better handled by a professional.
Exploring Decorative Mending and Styles
Not every patch has to disappear. Sometimes the best-looking repair is the one that clearly says, yes, these jeans were worn hard and worth saving.
Visible mending changes the goal. Instead of hiding damage, you design around it. That opens up more freedom with thread color, fabric choice, and stitch pattern.

What makes a visible patch look intentional
The difference between “creative mend” and “last-minute emergency fix” usually comes down to repetition and placement. If your thread color contrasts, repeat it somewhere across the patch. If your patch shape is bold, make the edges neat and commit to the look.
You can keep it simple:
- Use contrasting thread on a denim patch for a clean workshop look.
- Choose patterned cotton or linen for a playful repair on casual jeans.
- Layer texture thoughtfully if you want the patch to become a design feature.
A visible patch often works best when the shape is clear. Squares, rectangles, circles, and softened geometric shapes usually look more deliberate than a patch cut to mimic every jagged edge of the tear.
Sashiko as repair and design
One of the most satisfying forms of visible mending is sashiko, the Japanese method built around repeated running stitches. It’s practical, but it also has rhythm. The stitching itself becomes the visual feature.
The verified sashiko method starts with preparation. A patch is hemmed with a 0.5 cm double-fold, basted in place, and then stitched with doubled cotton thread. According to this sashiko mending demonstration, sashiko-repaired areas can withstand 25 to 30 lbs of shear force and may extend a jean’s life by 2 to 3 times, which makes it especially useful for high-wear spots like knees.
That durability is one reason sashiko feels so rewarding. It isn’t decorative fluff. It’s structure with personality.
Good visible mending doesn’t hide wear. It organizes it.
Easy style directions for beginners
If you like the idea of decorative mending but don’t want to map a complex design, try one of these:
Grid stitching
Stitch parallel lines across the patch, then cross them. It looks orderly and reinforces the area evenly.Tone-on-tone repair
Use blue thread on blue denim. The patch still shows, but softly.Contrast patch, simple stitches
Let the fabric do the talking and keep the stitching plain.Sashiko-inspired rows
Even if you don’t do a full traditional pattern, evenly spaced running stitches can still create that calm, handmade look.
Decorative mending works especially well on casual wardrobes because it turns upkeep into character. The repair doesn’t apologize for existing. It becomes part of why you keep reaching for those jeans.
Finishing Touches and Long-Term Care
A patch is sewn on. The jeans are wearable again. Don’t stop right at that moment if you want the repair to last.
Finish the repair neatly
Secure your thread tails well. If you sewed by hand, knot on the inside where the knot won’t rub your skin. If you used a machine, backstitch neatly or pull the thread ends through and tie them off by hand for a cleaner finish.
Then trim any bulky patch fabric from the inside, but only if it won’t weaken the repair. You want less bulk, not less coverage.
A final press helps the patch settle into the denim. Use heat appropriate for the fabric and press, don’t drag, so the area stays flat.
Help the patch last longer
Fresh repairs need a little kindness for the first few washes.
- Wash with care: Turn the jeans inside out when possible.
- Skip rough treatment early on: Heavy high-heat drying can be hard on newly stitched areas.
- Check the patch now and then: A few loose stitches are easy to repair if you catch them early.
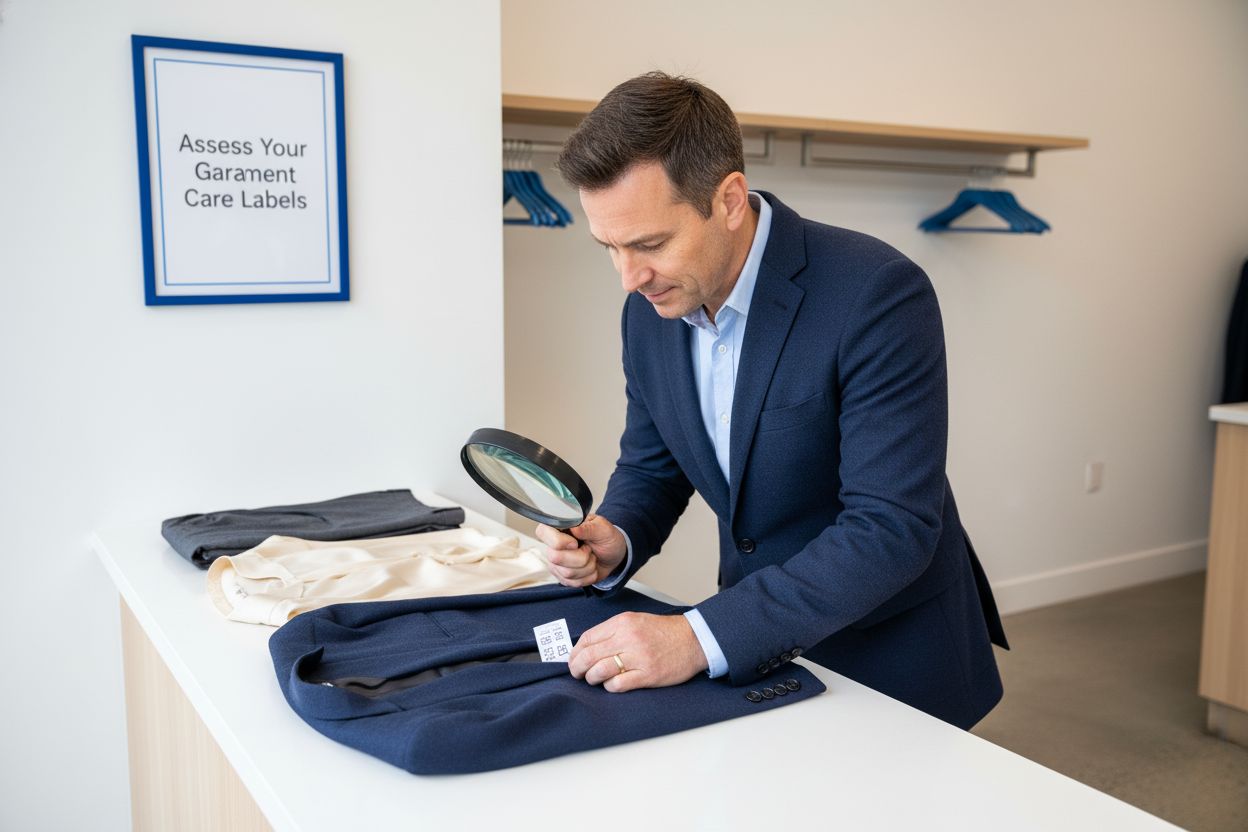
If the jeans need specialty cleaning after repair, follow the care label and choose the right service rather than guessing. For items that need dry cleaning, proper handling helps protect both the fabric and the repair.
Know when DIY stops being worth it
This part matters just as much as the sewing. Some repairs are straightforward. Some are a headache from the start.
It usually makes sense to hand the job off when:
- The tear is large and spreading into weak fabric
- The jeans contain significant stretch and distort easily
- The damage sits right beside bulky seams or hardware
- You don’t have the time or interest to do it well
That isn’t giving up. It’s being realistic. If patching your jeans sounds satisfying, do it. If it sounds like one more task waiting on the kitchen counter, getting professional help is often the smarter move.
If your jeans need expert care and you’d rather skip the trial-and-error, Columbia Pike Laundry can help take one more chore off your plate. For busy families and professionals, that kind of help isn’t indulgent. It’s practical. You keep the jeans you love, and you get your time back.
Free pickup, expert care, delivered back to your door.
Popular Blog Articles


Meet the Author
Daniel Logan didn’t start CPL because he loved laundry. He started it because his family was drowning in time debt, and laundry was one of the biggest weights.
Mornings were chaos with two kids under 5. Evenings felt like catch-up. And weekends? Gone to sorting socks and folding piles.
He knew his story wasn’t unique. So he built a business that gave families like his just a little bit of breathing room one load at a time.
With no laundry experience but deep tech skills, Daniel rolled up his sleeves, doing every job himself while building systems that turned it into a modern laundry service that saves customers time, simplifies their lives, and delivers reliability they can count on.
That’s where CPL began. Not from a playbook, but from pain. From one dad trying to buy back time: for himself, and for every household like his.
Free pickup, expert care, delivered back to your door.