How to Fix a Broken Zipper on Jacket: Quick Guide
Columbia Pike Laundry offers pickup & delivery across Northern Virginia.
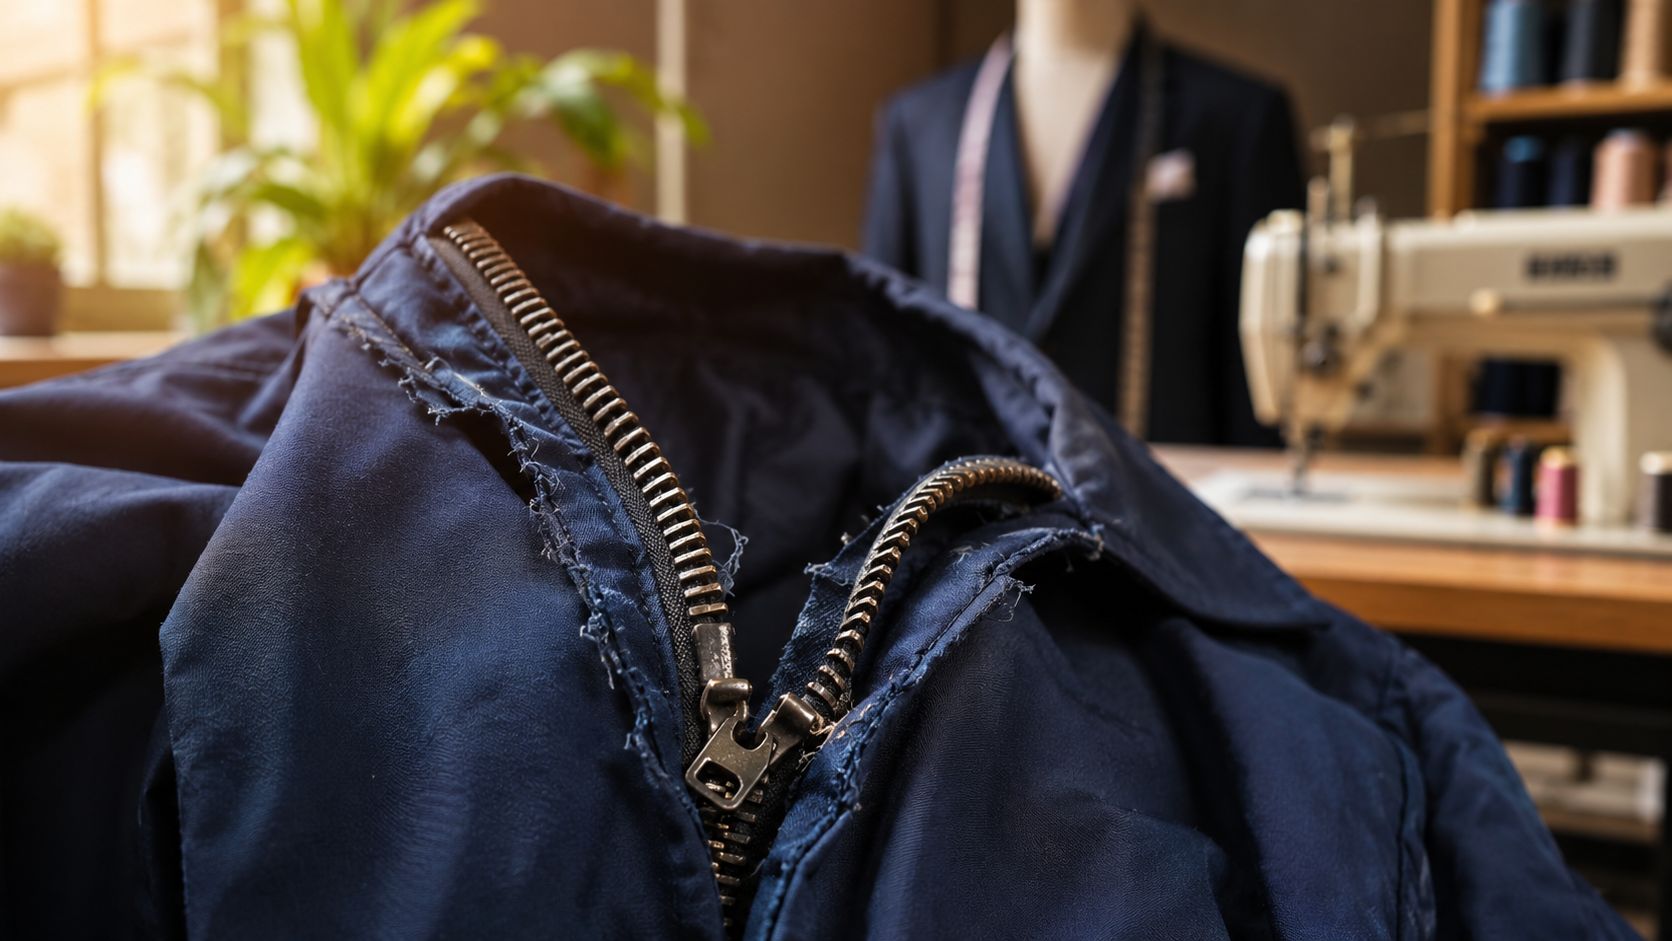
That sound is hard to ignore. You pull your jacket zipper up, it grinds halfway, sticks near your chest, then slides back down and leaves the whole front hanging open. Or it closes for a second, then the teeth separate behind the slider and let in a cold draft right when you're trying to get out the door.
A broken zipper has a way of making a normal morning feel more scattered than it should. One small mechanical failure, and suddenly you're late, annoyed, and wondering whether a perfectly good jacket is headed for the back of the closet. Most of the time, it isn't.
The good news is that many jacket zipper problems are fixable with simple tools, a steady hand, and the right diagnosis. The mistake people make is treating every zipper problem like the same problem. A stuck slider needs a different fix than a zipper that splits open. A worn slider needs a different approach than bent teeth. If you start with the wrong repair, you can waste time or damage the jacket.
Before you wash the jacket again or assume the zipper is done for, it also helps to make sure the garment itself is clean and ready for handling. Columbia Pike Laundry's coat washing guide is useful if your jacket needs care before or after a repair.
That Broken Zipper Feeling
Typically, one doesn't sit around wondering how to fix a broken zipper on jacket until they're standing in the exact moment they need to. The jacket is on. One hand is holding the bottom pin in place. The other is trying not to yank too hard. Nothing is cooperating.
Sometimes the zipper won't move at all. Sometimes it moves, but the jacket still opens underneath it. And sometimes the pull tab snaps off, which somehow makes the whole thing feel worse because now even a working zipper becomes awkward to use.
What helps is knowing that a zipper is a repairable closure, not a mysterious sealed system. In many cases, the failure isn't the whole zipper track. It's one part. The slider may be loose. The teeth may be slightly bent. Fabric may be caught where you can't quite see it.
A frustrating zipper often looks worse than it is.
That shift matters. Once you stop treating the jacket like a lost cause, you can approach it like a quick diagnostic job. Look closely. Move slowly. Match the fix to the failure.
What usually doesn't work
A few habits make things worse fast:
- Yanking harder: This can bend teeth, tear fabric, or crack a plastic part.
- Flooding the zipper with product: Too much lubricant attracts mess and can stain the jacket.
- Squeezing blindly with pliers: If you don't know whether the problem is the slider or the teeth, random pressure can deform both.
- Assuming replacement is the only answer: Many zipper issues can be corrected without replacing the entire zipper.
Relief starts with identifying what kind of broken you're dealing with.
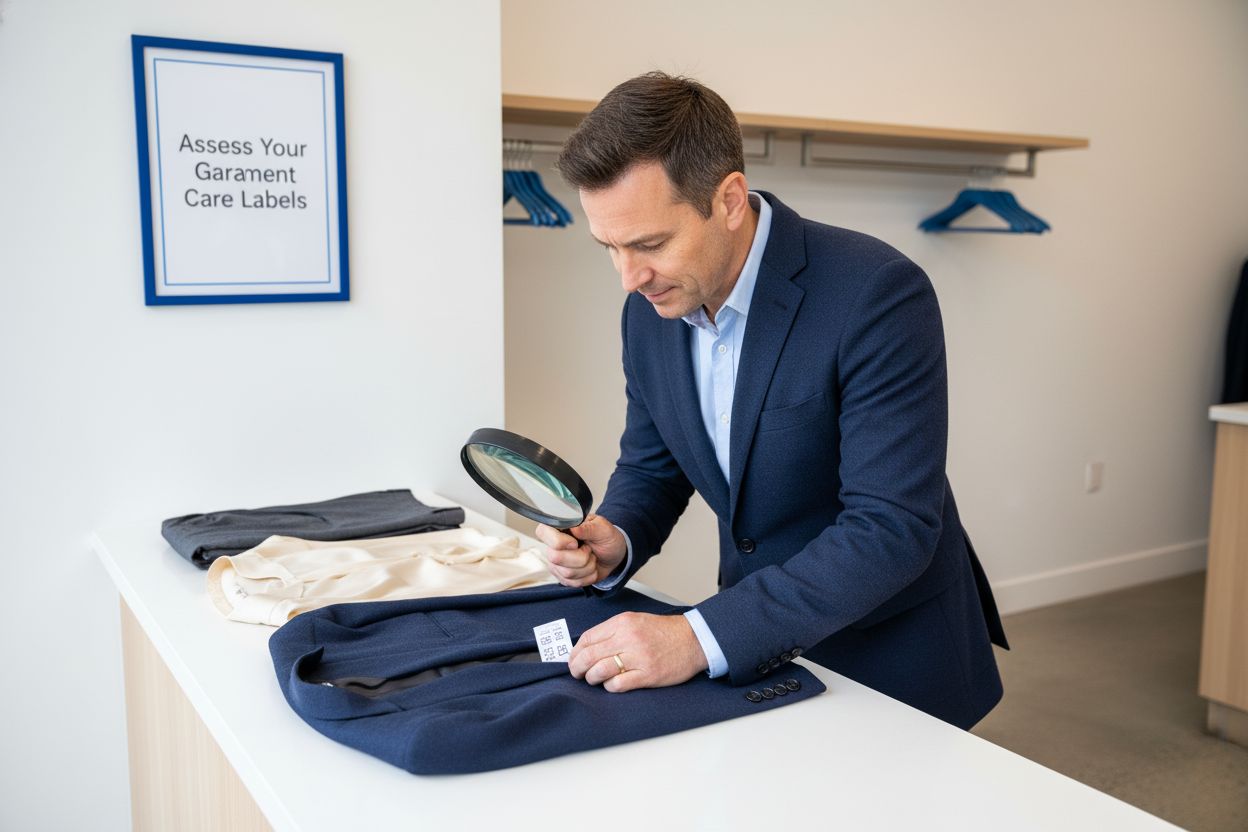
First Identify the Zipper Problem
Start with the jacket laid flat on a table or counter. Good light helps. You're looking for the specific failure point, not just the general fact that "the zipper doesn't work."
If you like having the right small tools around for repairs like this, notions such as pliers, replacement sliders, and stoppers can elevate your sewing projects and make these fixes much less frustrating.
Three common zipper failures
Most jacket zipper issues fall into one of these buckets:
| Problem | What it looks like | Most likely direction |
|---|---|---|
| Stuck slider | Slider won't move, or moves only with force | Check for fabric snags, dirt, friction, or minor misalignment |
| Splitting zipper | Slider goes up, but teeth separate behind it | Inspect the slider first |
| Broken slider or pull | Pull tab is missing, slider is cracked, or slider won't stay aligned | Replace the slider or use a temporary pull |
What to inspect before touching anything
Run through this quick check:
- Look at the fabric near the slider. A tiny edge of lining or shell fabric may be trapped.
- Check the teeth. Bent or uneven teeth can stop the slider or keep it from closing the chain cleanly.
- Study the slider body. If it looks spread open, loose, or visibly damaged, that's often the main issue.
- Check the top area. If the slider has come off or the top stopper is missing, the repair path changes.
Practical rule: If the zipper moves but doesn't hold the jacket closed, suspect the slider before anything else.
If your jacket is suede or another sensitive material, pause before reaching for soap, balm, or pliers. These surfaces need a gentler touch, and expert tips for suede care are worth reviewing first so the repair doesn't create a second problem.
The trade-off to keep in mind
The more delicate the jacket, the less room you have for "just try it" repairs. A basic fleece or casual canvas jacket gives you more margin. A thin shell, insulated puffer, or branded technical piece doesn't.
That doesn't mean you can't fix it yourself. It means diagnosis matters more than force.
Unsticking a Stubborn Zipper Slider
A stuck zipper feels dramatic, but it's often the most manageable problem. The safest approach is to start with the least invasive fix and only get more hands-on if the zipper still resists.
Check for the simple snag first
Before adding anything, inspect both sides of the slider. Jacket lining, seam tape, stray thread, or shell fabric may be caught in the mechanism.
Use your fingers first. If the fabric is lightly trapped, pull it away gently while easing the slider back in the opposite direction. Don't jerk. A zipper usually releases better with tiny back-and-forth movements than with one hard pull.
If you see a loose thread feeding into the slider, trim it only after you've freed it. Cutting too early can leave fuzz lodged inside the mechanism.
Use a light lubricant, not a heavy coating
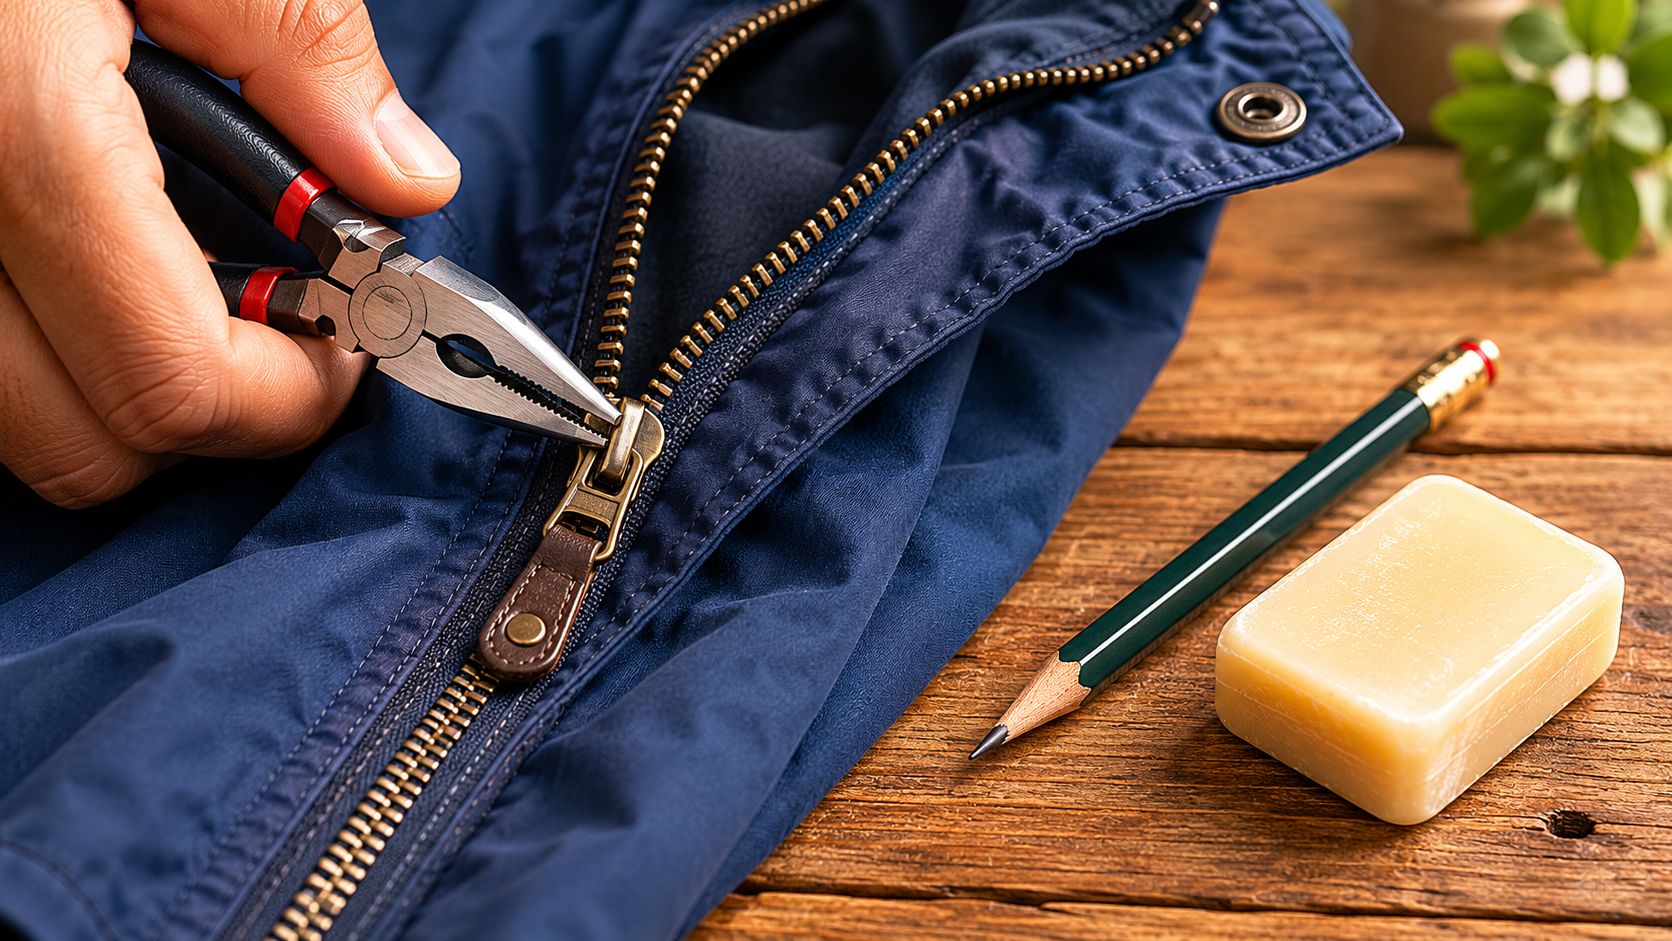
When zipper teeth are misaligned or stuck, lubrication is a key first step. Repair sources recommend household items like petroleum jelly, lip balm, a bar of soap, or even the graphite from a pencil to reduce friction. Apply a small amount to the problem area and work the zipper up and down to distribute it, as described in this zipper repair guide from Love Your Coat.
A few practical notes make this work better:
- Start small: Put only a little on the trouble spot.
- Move the slider slowly: Short passes help distribute the lubricant without forcing the track.
- Wipe away excess: This matters on jacket fabric, especially lighter colors.
- Choose carefully: Graphite can be useful, but it can also mark fabric if you're sloppy.
If lubricant fixes the movement, stop there. More product won't improve a zipper that's already sliding again.
If it still catches, inspect the teeth
A zipper can feel "stuck" when one or two teeth are bent enough to interrupt the slider's path. At that point, lubrication won't solve the actual obstruction.
Use needle-nose pliers to straighten only the bent tooth you can clearly identify. Work one tooth at a time. Small correction, then test. If you squeeze too hard, you can snap a tooth or create a new snag next to the old one.
What works and what doesn't
- Works well: Soap or graphite for friction, gentle backtracking, careful release of trapped fabric
- Sometimes works: Lip balm or petroleum jelly, if used sparingly
- Usually fails: Pulling harder, soaking the zipper, or bending multiple teeth at once without checking progress
A stuck zipper rewards patience more than strength.
Mending a Zipper That Splits Open
You zip the jacket, take one step, and the whole thing opens back up from the middle. Annoying, but the failure usually has a pattern. If the slider moves normally and the teeth separate right behind it, the problem is often the slider losing its grip, not the entire zipper being done for.
That distinction matters. A splitting zipper is one of the few jacket repairs where a 30-second fix can work, but only if you are fixing the right part.
Start by checking what kind of split you have
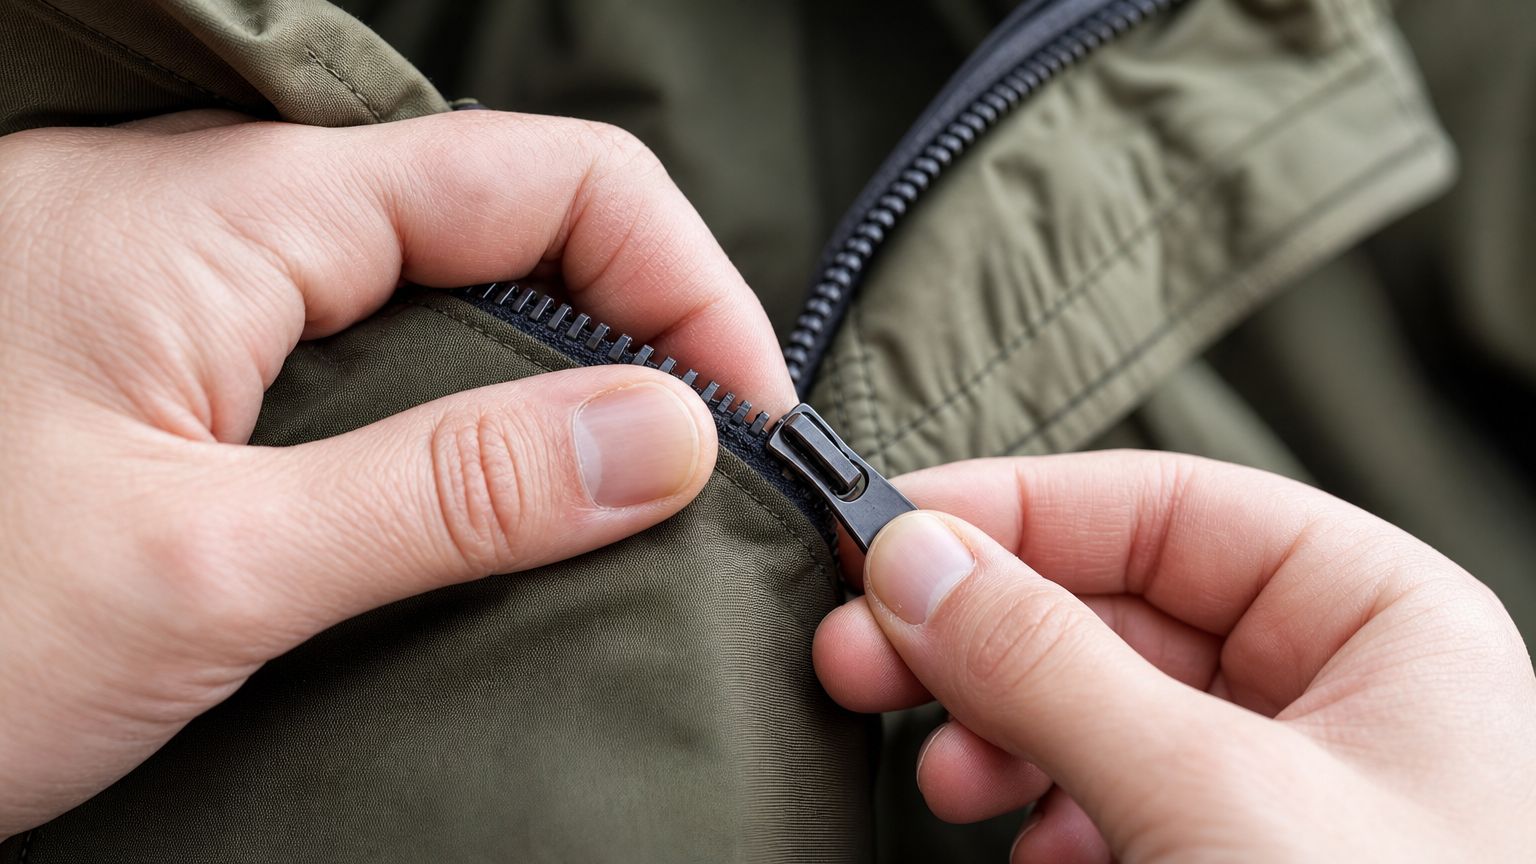
Before you reach for pliers, zip the jacket slowly and watch where it fails.
A careful crimp is worth trying when:
- the slider is still on the zipper
- the pull tab is intact and usable
- the teeth look mostly straight
- the zipper closes at first, then pops open behind the slider
Skip straight to slider replacement if the slider is cracked, badly bent, or visibly loose on the track. If the teeth are missing or the zipper tape is torn away from the jacket, crimping will not hold for long.
If you need a quick visual refresher on zipper parts and construction, Display Guru's zipper tips can help you identify what you're looking at before you buy parts or start squeezing metal.
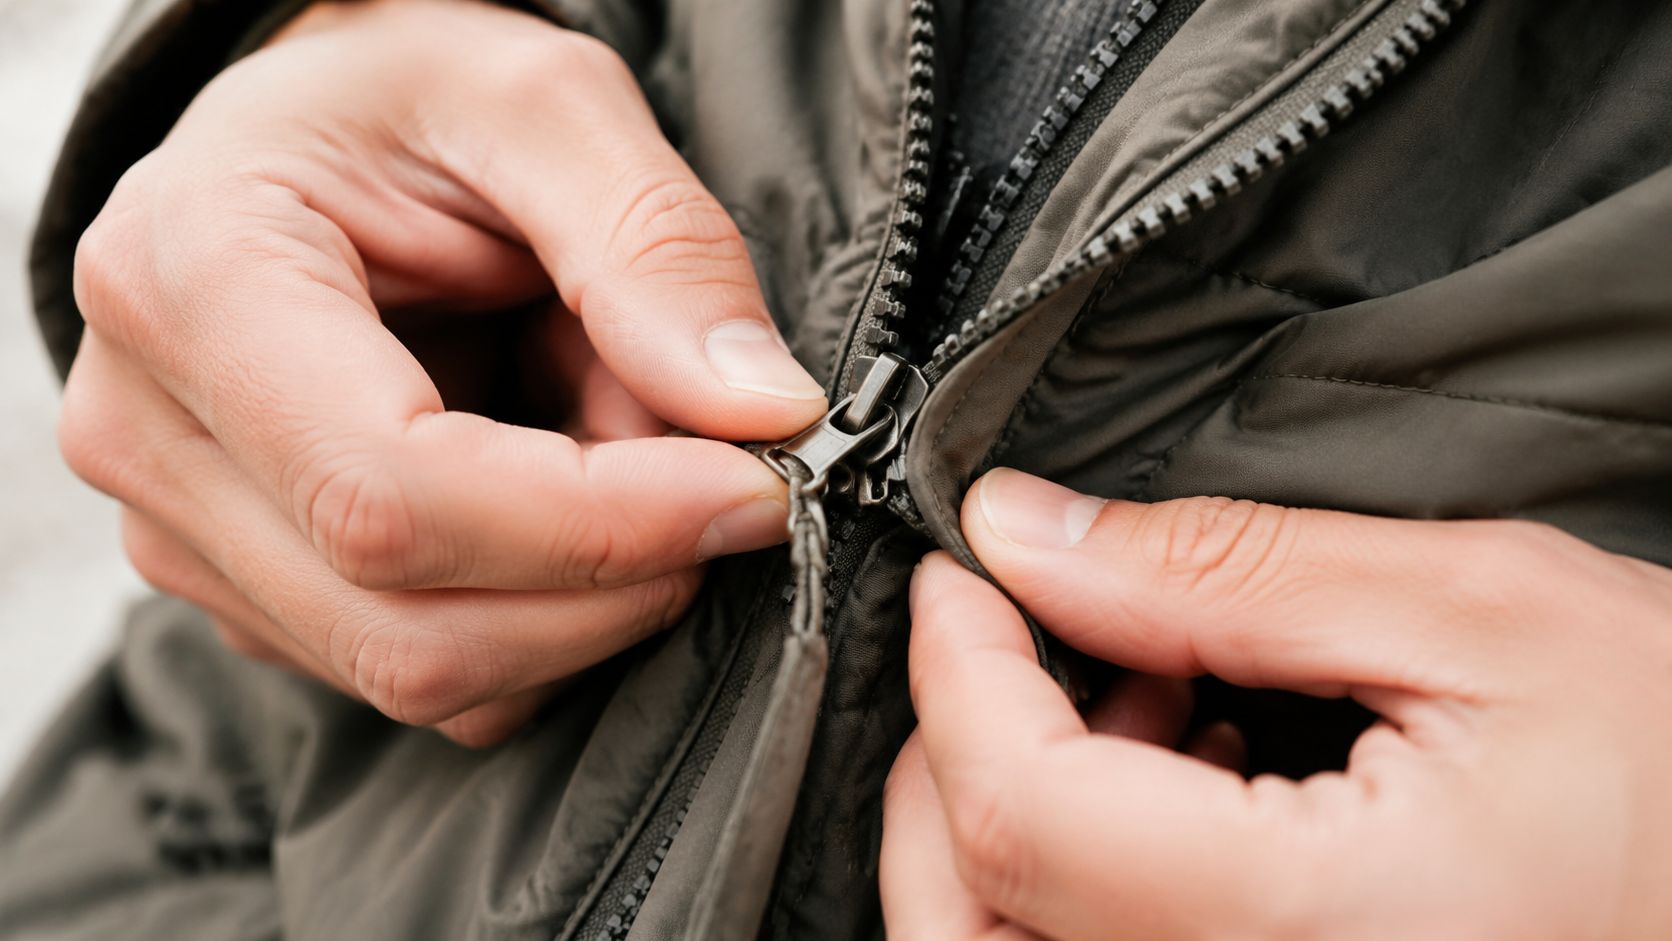
Try a light crimp on the slider
Use needle-nose pliers. Squeeze the slider gently from the sides first, then test it. If that changes nothing, try a very small squeeze across the top and bottom plates of the slider.
Small is the whole game here. The goal is to restore tension, not crush the slider out of shape.
A simple way to test it:
- Zip the jacket up a few inches.
- Make one light squeeze.
- Run the slider up and down.
- Check whether the teeth stay meshed behind it.
- Stop as soon as it starts holding.
One careful adjustment can fix it. Two or three heavy squeezes can ruin a slider that might otherwise have lasted the season.
If the split starts at one spot, inspect the teeth there
A worn slider is common, but it is not the only cause. If the zipper keeps splitting at the same point, look closely at that section of teeth. One bent tooth, one twisted coil, or a short section pulled out of alignment can keep the slider from joining the chain cleanly.
Use needle-nose pliers to nudge a bent metal tooth back into line. On a coil zipper, use your fingers or a blunt tool to straighten the fabric tape and make sure the coil is not twisted. Then test again.
Do not try to reshape half the zipper at once. One small correction tells you more than a lot of force.
Know when to stop and hand it off
A crimp fix is practical when you need to get a jacket working again quickly, and it often buys real time. It is still a compromise. If the slider is badly worn, the fix may last weeks, not years.
Hand the job to a tailor, outdoor gear repair shop, or dry cleaner that handles zipper work when the zipper keeps separating after a careful crimp, the teeth are damaged in multiple places, or the jacket is worth more than the risk of trial-and-error. That is usually the smarter call on insulated coats, technical shells, and anything with a hard-to-match zipper size.
How to Replace a Broken Zipper Slider
If the slider body is cracked, missing, or so worn that it wobbles on the teeth, replacement is usually the repair that makes sense. This is the point where diagnosis matters. A new slider helps when the slider is the problem. It will not save a zipper with damaged teeth or a torn box and pin at the bottom.
Gather the right tools first
Set up before you start. You need end nippers or small cutting pliers to remove the top stopper, needle-nose pliers, a replacement slider that matches your zipper, and a new top stopper. A tray or towel under the jacket helps too, because these little metal parts like to disappear.
If you want a quick refresher on zipper construction before buying parts, Display Guru's zipper tips are useful for learning the basic anatomy. Your jacket repair is simpler than sewing in a new zipper, but the part names still help when you're standing in front of a repair display.
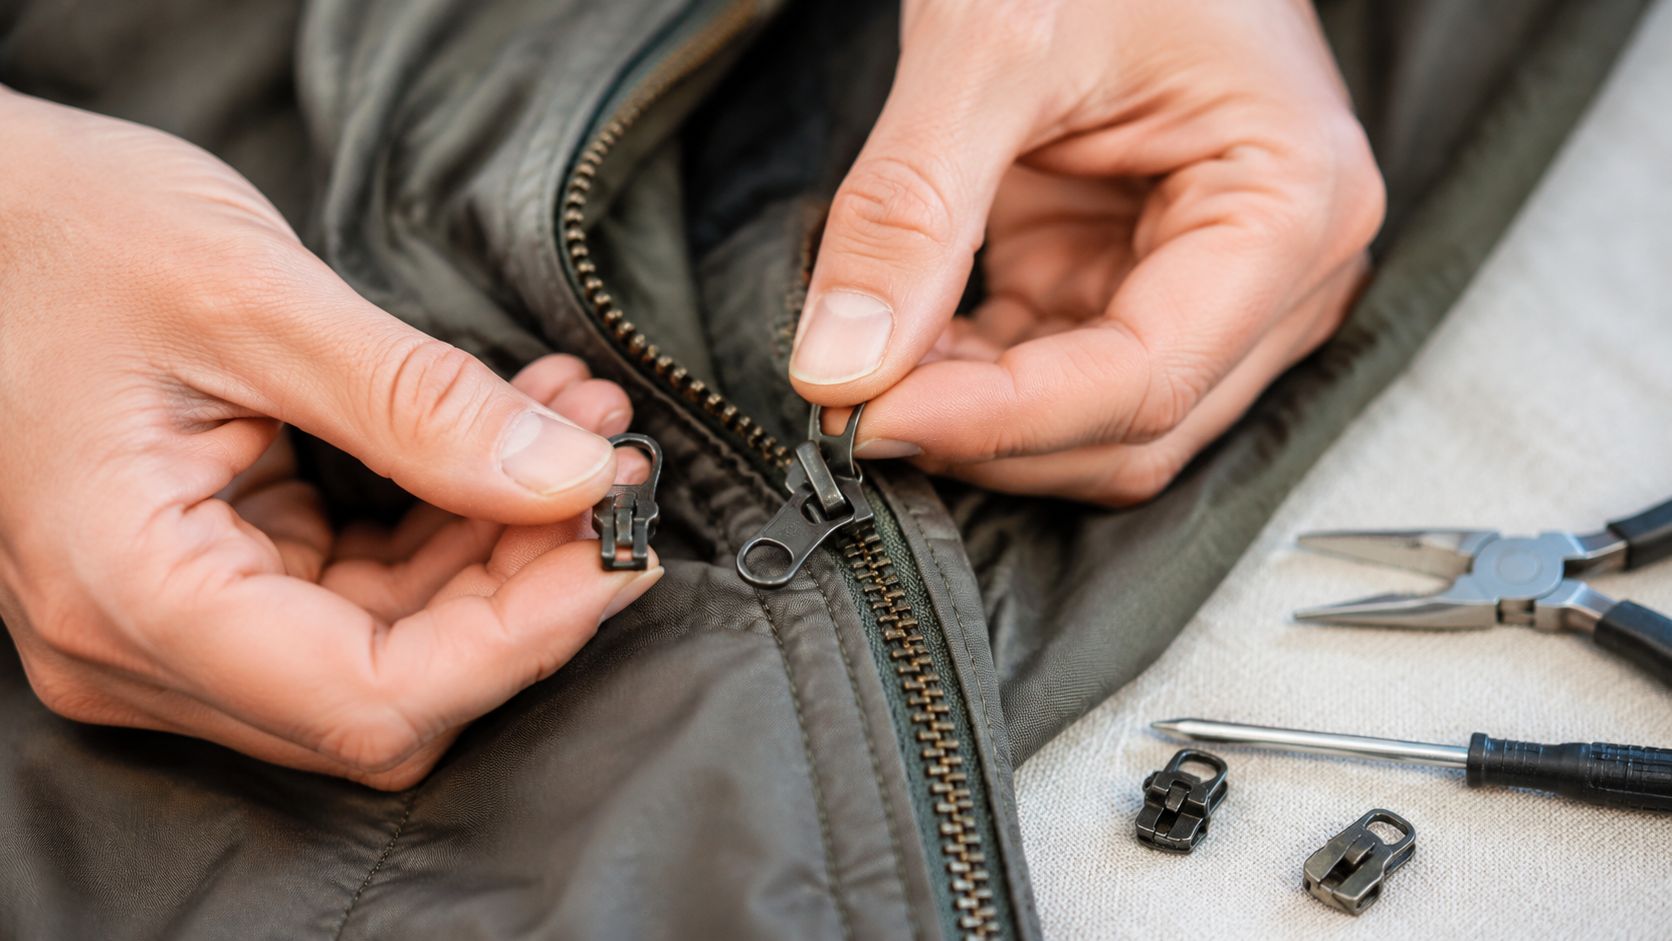
Match the replacement carefully
Many DIY repairs go sideways when encountering zipper variations. Jacket zippers come in different sizes and styles, including coil, plastic molded, and metal. The slider has to match both the zipper type and the size. Close is often not close enough.
If the old slider is still on the jacket, remove it and bring it with you when you shop. Compare the shape, width, and underside. If you cannot find an exact match and the jacket is expensive, stop here and hand it to a tailor or gear repair shop. That saves time on technical shells, insulated coats, and anything with specialty hardware.
Remove the old slider and install the new one
Work slowly. The zipper tape is tougher than it looks, but one bad cut can turn a slider job into a full zipper replacement.
Remove one top stopper
Use end nippers to lift off the stopper on one side at the top of the zipper. Grip the metal piece, not the fabric tape.Slide off the old slider
Pull the slider off through the open top. If it fights you, check that the stopper is fully removed instead of forcing it.Feed on the new slider
Put it on in the same orientation as the old one. On many jackets, this is the fiddly part. Start one side, then align the other so both rows enter evenly.Reinstall a top stopper
Crimp the new stopper in place with pliers. It should be snug enough to hold, but not so tight that it cuts into the tape.Test the zipper several times
Run it up and down. Watch whether the teeth mesh cleanly and whether the slider feels square on the chain.
Small-shop option: If you don't want to replace the full zipper but need help with the hardware, Columbia Pike Laundry lists zipper pull and zipper replacement services as available garment repair options.
Where people get into trouble
The usual mistakes are easy to avoid once you know them.
- removing the stopper on the wrong side or pulling at the fabric instead of the metal
- buying a slider that looks close but does not match the zipper type
- installing the new slider backward
- crushing the new stopper too hard
- replacing the slider when the issue is damaged teeth
If the new slider goes on and the zipper still separates at the same spot, the slider was not the only issue. At that point, a professional repair is often the faster call.
Quick Fixes for Zipper Emergencies
Sometimes you don't need a repair yet. You need to get through the workday, school pickup, or a cold walk from the parking lot without your jacket falling open.
A broken zipper pull is the easiest emergency to patch. If the pull tab has snapped off but the slider body is still intact, thread a paperclip, key ring, or short piece of cord through the hole. It's not elegant, but it gives your fingers something to grip and usually buys you enough control to use the zipper normally for the day.
The leave-the-house-right-now fixes
These are temporary, but they work:
- Broken pull tab: Use a paperclip or key ring through the slider eye.
- Jacket won't stay closed: Use a safety pin to keep the front together at the point that matters most.
- Slider is touchy but still moves: Close it once and avoid repeated opening until you can repair it properly.
- Bottom start is finicky: Re-seat the zipper carefully and try again without force.
One winter morning fix is often enough. A parent heading to school drop-off doesn't need a perfect zipper in that moment. They need the coat shut. A commuter doesn't need to rebuild the slider on the sidewalk. They need enough function to get inside and deal with it later.
What these fixes are not
They are not long-term solutions. A paperclip pull can twist. A safety pin can strain fabric. A barely functioning slider usually gets worse with repeated use.
Still, emergency fixes have real value. They keep a small problem from wrecking your schedule, and that counts.
When to Call for Zipper Reinforcements
There is a point where DIY stops being efficient and starts becoming expensive in the wrong way. If the issue is small and mechanical, home repair makes sense. If the damage involves the jacket fabric, missing teeth, or delicate construction, professional help is usually the smarter move.
DIY repair on standard jackets is often straightforward, but specialty outerwear with lightweight shells, waterproof construction, or plastic parts that can crack under pressure may require professional care. A failed DIY repair on a high-value jacket can cause permanent damage, which is why professional restoration is often the safer option, as noted in this repair discussion on specialty garments.
Good reasons to stop and hand it off
Call in help if you see any of these:
- Broken or missing teeth: The zipper may no longer close reliably.
- Tape pulled away from the jacket: This becomes a sewing repair, not just a hardware fix.
- Waterproof or technical construction: Damage to the surrounding material can be harder to undo than the zipper problem itself.
- Cracking plastic components: Extra pressure can make the damage spread.
- A jacket you really don't want to ruin: Value changes the decision.
Why this can save time, not just fabric
Doing it yourself can feel cheaper until you spend an hour chasing the wrong fix, mark the fabric with product, or bend parts that were still usable. Handing a repair to a tailor or dry cleaner isn't admitting defeat. It's choosing the route with the lowest risk when the jacket matters.
If the zipper issue is on a favorite winter coat, a delicate suede piece, or technical outerwear you depend on, preserving the garment is usually worth more than squeezing one more DIY attempt out of it.
If your jacket zipper has crossed the line from annoying to not-worth-risking, Columbia Pike Laundry can help with garment care and repair options so you can stop fighting the hardware and get back to your day.
Free pickup, expert care, delivered back to your door.
Popular Blog Articles


Meet the Author
Daniel Logan didn’t start CPL because he loved laundry. He started it because his family was drowning in time debt, and laundry was one of the biggest weights.
Mornings were chaos with two kids under 5. Evenings felt like catch-up. And weekends? Gone to sorting socks and folding piles.
He knew his story wasn’t unique. So he built a business that gave families like his just a little bit of breathing room one load at a time.
With no laundry experience but deep tech skills, Daniel rolled up his sleeves, doing every job himself while building systems that turned it into a modern laundry service that saves customers time, simplifies their lives, and delivers reliability they can count on.
That’s where CPL began. Not from a playbook, but from pain. From one dad trying to buy back time: for himself, and for every household like his.
Free pickup, expert care, delivered back to your door.