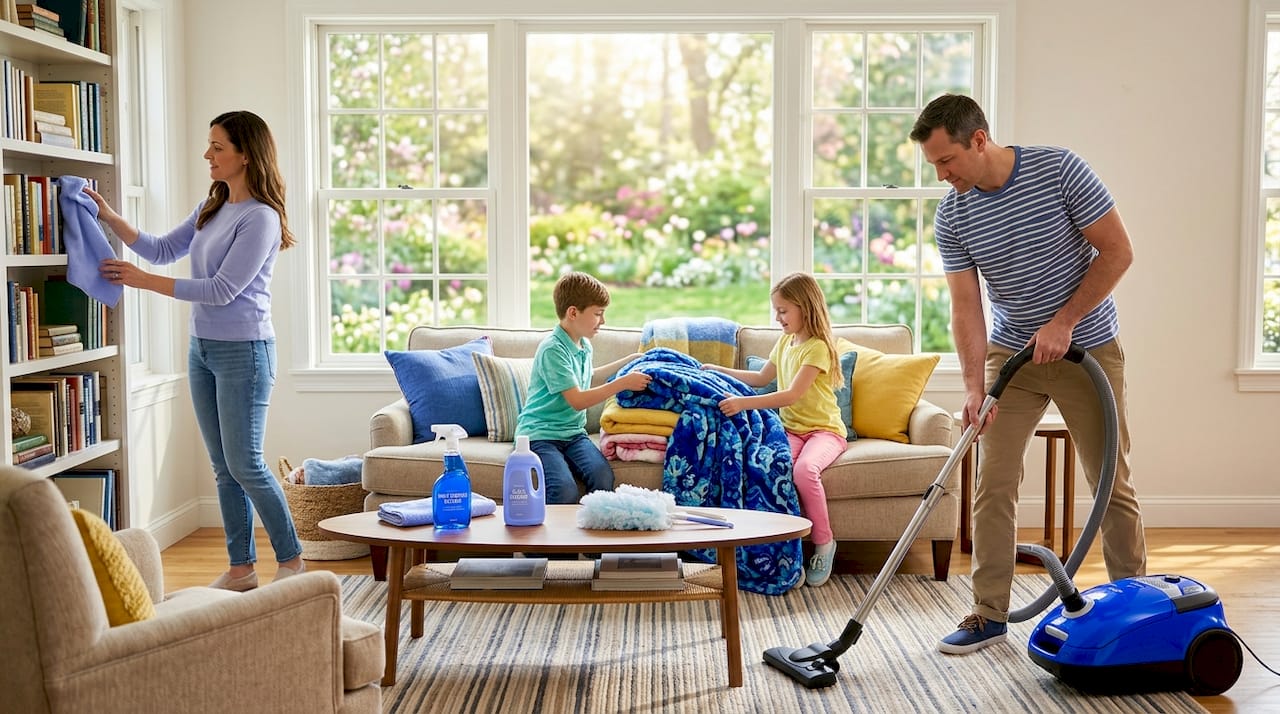
Spring Cleaning Checklist for the Whole Family
Columbia Pike Laundry offers pickup & delivery across Northern Virginia.
TL;DR:
- A spring cleaning checklist provides a structured, room-by-room plan that efficiently refreshes your home and eliminates allergens. Following a specific sequence—decluttering, dry dusting, wet cleaning, then floors—reduces cleaning time by up to 30%, making the process manageable and effective. Spreading tasks over multiple weekends and involving household members ensures thoroughness while avoiding burnout, supported by essential tools like microfiber cloths, HEPA vacuums, and EPA-registered disinfectants.
A spring cleaning checklist is an organized, room-by-room plan that systematically refreshes every area of your home, eliminating accumulated dirt, dust, and allergens for a healthier living environment. Most families underestimate how much a structured approach changes the experience. Without a clear sequence, you end up re-soiling floors you just mopped or dusting surfaces you already wiped. Following a phased house cleaning guide cuts total cleaning time by up to 30% and makes the whole process feel manageable rather than overwhelming.
1. What is the best order for your spring cleaning checklist?
The most effective sequence for any spring cleaning checklist is: declutter first, then dry dust, then wet clean surfaces, and finish with floors. This order exists for a practical reason. Dry work before wet prevents smearing loose debris into surfaces, and cleaning floors last stops you from tracking grime back across areas you already cleaned.
Before you touch a single room, do a whole-house pass. Pre-cleaning tasks like dusting baseboards and wiping walls first prevent room-specific deep cleaning from being undone by leftover grime drifting down from above. Think of it as laying groundwork before the detail work begins.
Decluttering deserves special attention as a time-saver, not just a tidying step. Removing clutter before cleaning saves roughly 15 to 20 minutes per room by eliminating the constant item-moving that slows you down. That adds up fast across a full house.
One more technique most people skip: dwell time. Letting cleaning products sit for about 2 minutes allows the chemistry to lift grime rather than just smear it around. Spray, wait, then wipe.
Pro Tip: Set a timer for each room before you start. Knowing you have 45 minutes for the bathroom creates focus and prevents the common trap of spending two hours on one space.
2. Room-by-room spring cleaning checklist
A room-by-room approach is the backbone of any practical cleaning checklist printable. It keeps you focused, prevents backtracking, and gives you a clear sense of progress as you move through the house.
Kitchen
The kitchen takes the most time, typically 3 to 4 hours for a thorough clean. Work top to bottom: wipe cabinet fronts, degrease the range hood, clean inside the oven and microwave, then pull out the refrigerator to vacuum the coils. Empty the pantry completely, wipe shelves, and discard expired items before restocking.
- Wipe down all cabinet fronts and handles
- Clean inside the refrigerator, including drawers and door seals
- Degrease the stovetop, oven, and range hood filter
- Descale the coffee maker and clean the dishwasher filter
- Sanitize the sink and faucet with an EPA-registered disinfectant
Bathrooms
Bathrooms run 2 to 2.5 hours each and harbor the most bacteria in the home. Soak the showerhead in white vinegar overnight to dissolve mineral buildup. Scrub grout lines with a stiff brush and a baking soda paste. Replace the shower liner if it shows mold that scrubbing cannot remove.
- Scrub the toilet, including under the rim and around the base
- Clean grout lines in tile with a baking soda and water paste
- Wipe down all mirrors, light fixtures, and exhaust fan covers
- Check under the sink for slow leaks or water damage
- Disinfect high-touch surfaces: faucet handles, light switches, towel bars
Bedrooms
Bedrooms take 2 to 3 hours and are the biggest source of allergen exposure. Wash all bedding and curtains in hot water to kill dust mites. Vacuum under the bed and behind furniture where dust accumulates undisturbed for months. Go through the closet and donate anything you have not worn in a year.
- Launder all bedding, pillowcases, and mattress covers
- Flip or rotate the mattress and vacuum the surface
- Wipe down all furniture surfaces, including nightstands and dressers
- Vacuum under beds and behind furniture
- Organize the closet and remove items for donation
Living room and entryway
These spaces collect the most visible dust and tracked-in debris. Vacuum upholstered furniture, including under cushions. Wipe ceiling fan blades with a damp microfiber cloth. Clean window glass after wiping frames and screens first so grit does not scratch the glass.
- Dust and wipe all baseboards with a damp cloth
- Clean ceiling fan blades and light fixtures
- Wipe window frames and screens, then clean the glass
- Vacuum upholstery and under couch cushions
- Declutter entryway surfaces, shoe racks, and coat hooks
Basement and garage
These areas are easy to skip but matter for air quality and pest prevention. Check for moisture damage, clear out expired chemicals, and sweep corners where spiders and insects nest. Organize tools and seasonal items into labeled bins.
Here is a quick comparison of the cleaning effort and focus for each room:
| Room | Estimated time | Top priority task | Key allergen concern |
|---|---|---|---|
| Kitchen | 3 to 4 hours | Degrease appliances and clean fridge | Mold in fridge seals, grease buildup |
| Bathroom | 2 to 2.5 hours each | Scrub grout and disinfect surfaces | Mold, mildew, bacteria on fixtures |
| Bedroom | 2 to 3 hours | Wash all bedding in hot water | Dust mites in mattress and pillows |
| Living room | 1.5 to 2 hours | Vacuum upholstery and wipe baseboards | Pet dander, dust on ceiling fans |
| Basement/Garage | 2 to 3 hours | Check for moisture and clear clutter | Mold spores, pest debris |
3. How to build a realistic spring cleaning schedule
A thorough spring clean typically takes 2 to 3 weekends to complete properly. Trying to do everything in a single Saturday is the fastest way to burn out and quit halfway through. Spread the work across multiple sessions using the room time estimates above as your planning guide.
The American Cleaning Institute recommends using a portable cleaning caddy to carry all your supplies from room to room. This eliminates the constant trips back to the supply closet that quietly eat 20 to 30 minutes per session. Load it with microfiber cloths, your all-purpose cleaner, disinfectant spray, and a scrub brush before you start.
Involve every household member with age-appropriate tasks. Children ages 6 to 10 can wipe baseboards, sort laundry, and dust low surfaces. Teenagers can handle vacuuming, bathroom scrubbing, and window cleaning. Distributing the work across the family cuts total time and builds habits that carry into the rest of the year. For tips on keeping laundry organized as part of your routine, the laundry tips for busy families guide from Columbiapikelaundry is worth bookmarking.
- Weekend 1: Whole-house declutter, kitchen deep clean, all bathrooms
- Weekend 2: All bedrooms, living room, entryway, and hallways
- Weekend 3: Basement, garage, outdoor areas, and any catch-up tasks
Pro Tip: After each session, take a photo of the completed room. It sounds small, but visual proof of progress is one of the most effective ways to stay motivated across multiple weekends.
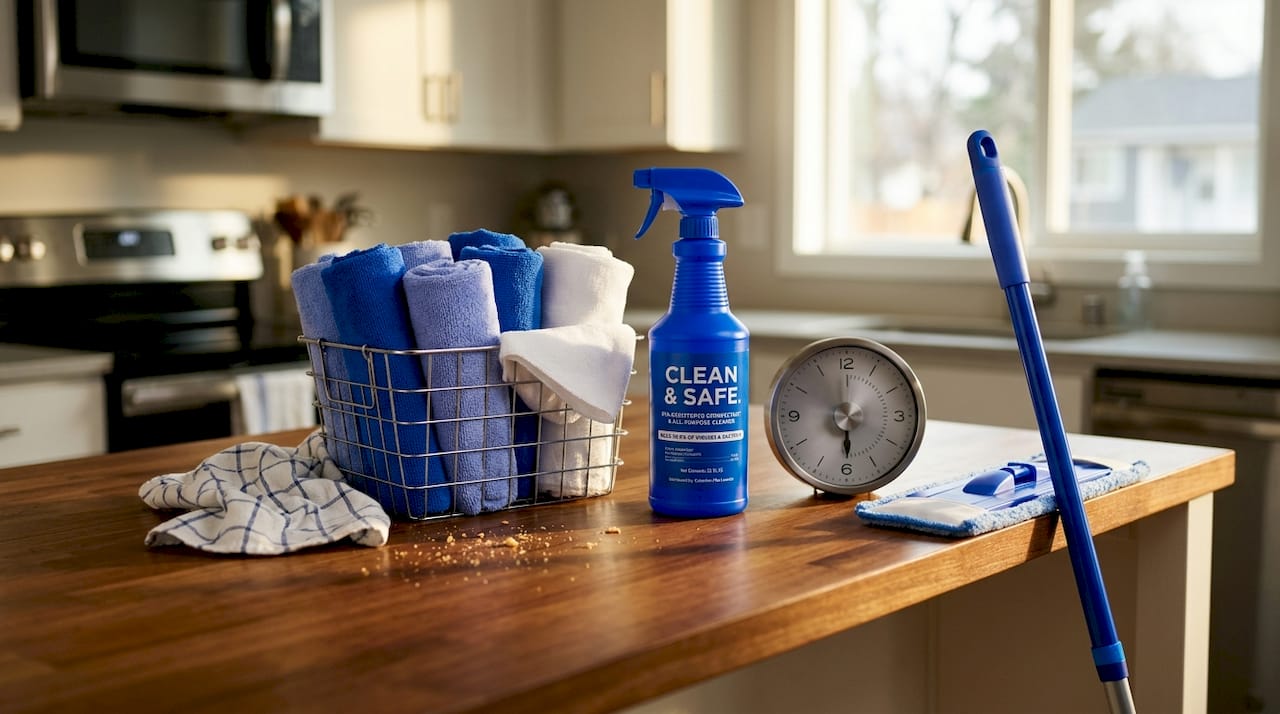
4. Essential supplies for an effective spring clean
The right tools make a measurable difference. Microfiber cloths outperform paper towels because they trap particles rather than pushing them around. A vacuum with a HEPA filter captures allergens that standard filters recirculate back into the air. A quality flat mop with washable pads handles hard floors faster and more hygienically than a traditional string mop.
For disinfection, EPA-registered disinfectants are the standard for high-touch surfaces like door handles, light switches, phones, and keyboards. These products are formulated to kill a broad spectrum of bacteria and viruses, which matters most in kitchens and bathrooms. For everyday surfaces, white vinegar and baking soda handle grease and odors effectively at a fraction of the cost.
Understanding the difference between sanitizing and disinfecting helps you use products correctly. Sanitizing reduces germs to safe levels; disinfecting goes further and eradicates viruses and bacteria. Use sanitizing for general kitchen and dining surfaces, and reserve disinfecting for bathrooms, sick rooms, and any surface touched frequently by multiple people.
- Microfiber cloths: Use color-coded sets to avoid cross-contamination between bathrooms and kitchen
- HEPA vacuum: Captures fine particles including pet dander and pollen
- Flat mop with washable pads: Faster and more hygienic than traditional mops
- EPA-registered disinfectant spray: For high-touch surfaces and bathroom fixtures
- White vinegar and baking soda: Budget-friendly for descaling, deodorizing, and light scrubbing
- Grout brush: A stiff-bristle brush specifically for tile lines in bathrooms and kitchens
- Squeegee: Streak-free window cleaning in half the time of paper towels
For guidance on sorting and preparing linens and clothing before your deep clean, the how to separate clothes guide from Columbiapikelaundry covers the process clearly.
Key takeaways
A spring cleaning checklist works best when it follows a strict sequence: declutter, dry dust, wet clean, then floors, applied room by room across multiple weekends.
| Point | Details |
|---|---|
| Sequence matters most | Declutter before cleaning and always work top to bottom to cut total time by up to 30%. |
| Spread it across weekends | Plan 2 to 3 weekends using room time estimates to avoid burnout and incomplete cleaning. |
| Use the right products | Match EPA-registered disinfectants to high-touch surfaces and use vinegar for everyday degreasing. |
| Dwell time is non-negotiable | Let cleaning products sit for 2 minutes before wiping to lift grime rather than smear it. |
| Involve the whole household | Assign age-appropriate tasks to family members to cut total cleaning time significantly. |
Why I stopped dreading spring cleaning
The shift for me came when I stopped treating spring cleaning as one giant project and started treating it as a series of small, completable tasks. The checklist is not just a to-do list. It is a psychological tool. Every room you cross off gives you a concrete win, and those wins compound.
The insight that changed my actual results was decluttering first, every single time. I used to skip it and go straight to cleaning. The difference in speed once you remove the clutter is not subtle. You stop picking things up, moving them, cleaning under them, and putting them back. You just clean. That alone accounts for most of the time savings people report when they finally commit to a proper sequence.
I also think most families underestimate how much laundry is part of spring cleaning. Bedding, curtains, throw covers, and bath mats all need washing during a proper deep clean. Trying to run all of that through your home washer while also scrubbing bathrooms and cleaning the kitchen creates a bottleneck that slows everything down. Offloading the bulk laundry to a professional service during spring cleaning week is one of the most practical decisions a busy household can make.
The families I have spoken with who find spring cleaning rewarding share one habit: they print or write out their checklist and physically check off each task. Digital lists work, but there is something about a physical check mark that registers as real progress in a way a screen tap does not.
— Daniel
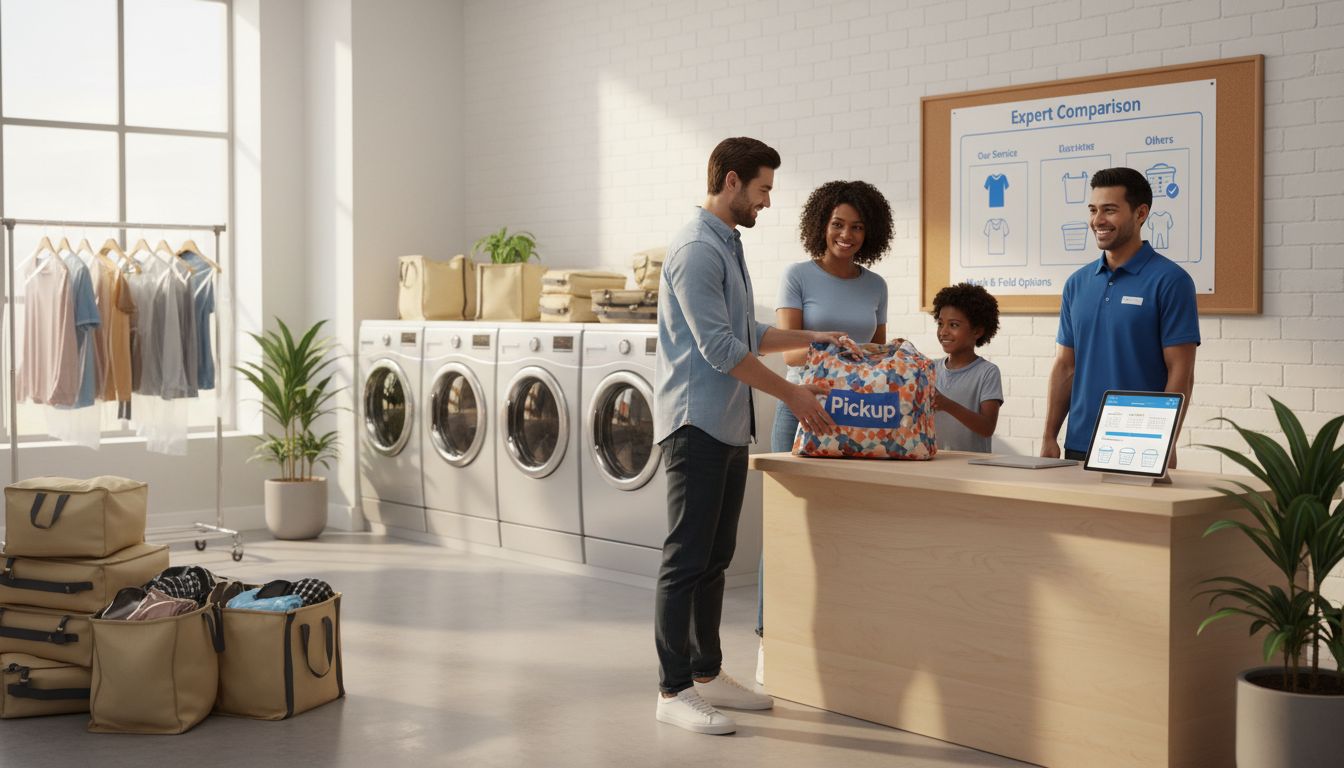
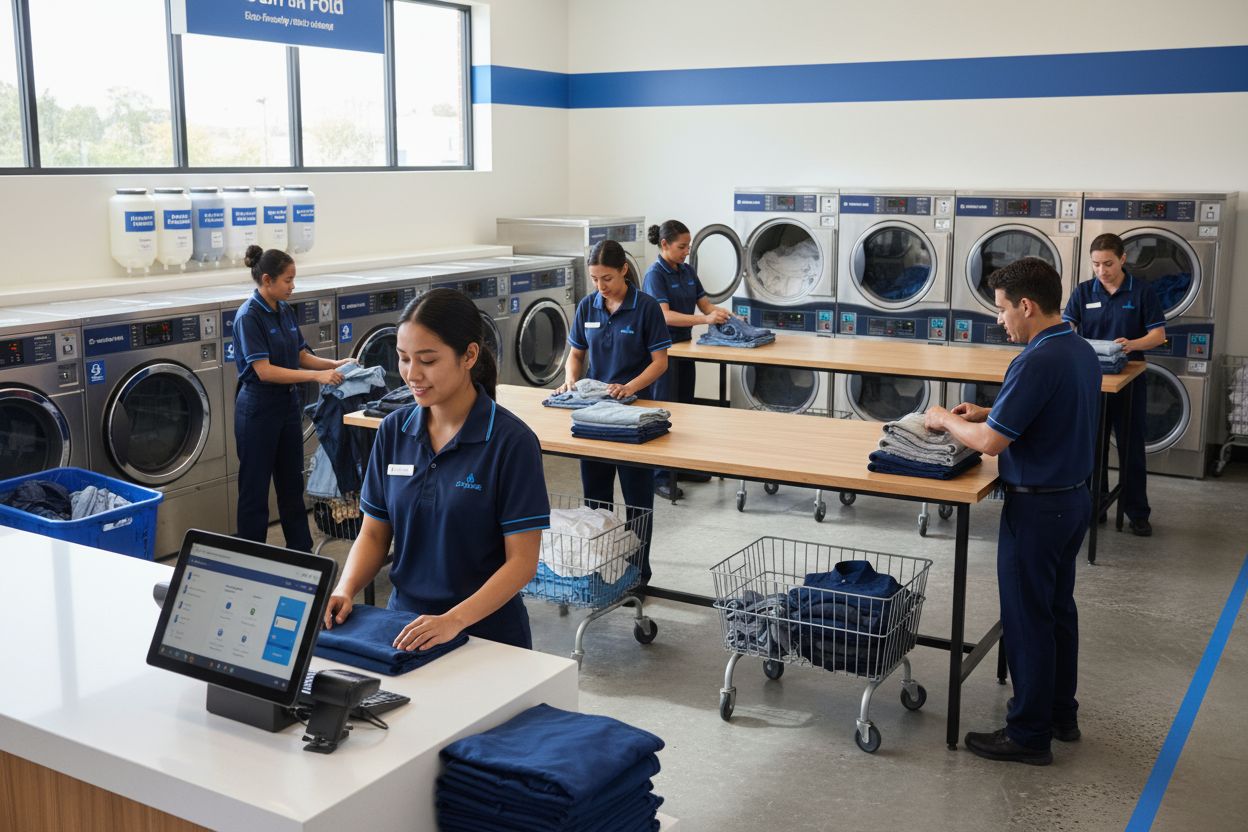
Let Columbiapikelaundry handle the laundry while you clean
Spring cleaning means washing everything: bedding, curtains, throw blankets, and delicate items that your home washer cannot handle well. Columbiapikelaundry, based in Arlington, Virginia at 2602 Columbia Pike, offers wash and fold, dry cleaning, and pickup and delivery services that take the laundry burden completely off your plate. You schedule a pickup through the app, and your items come back folded, pressed, and ready within 48 hours. That frees you to focus on the scrubbing, organizing, and decluttering that only you can do. Visit Columbiapikelaundry to schedule your first pickup and cross laundry off your spring cleaning list for good.
FAQ
What is a spring cleaning checklist?
A spring cleaning checklist is a structured list of tasks organized by room and cleaning phase that guides you through a thorough seasonal deep clean of your home. It covers decluttering, dusting, surface cleaning, disinfecting, and floor care in a sequence that prevents recontamination.
How long does spring cleaning take?
A thorough spring clean takes 2 to 3 weekends for most homes, with the kitchen requiring 3 to 4 hours and each bathroom taking 2 to 2.5 hours. Spreading the work across multiple sessions prevents burnout and produces better results than a single marathon day.
What is the best order to clean a house?
The most efficient order is declutter first, then dry dust from top to bottom, then wet clean surfaces, and finish with floors. This top-to-bottom sequence reduces total cleaning time by up to 30% by preventing recontamination of already-cleaned areas.
When should I disinfect versus sanitize?
Sanitizing lowers germs to safe levels and is appropriate for kitchen counters and dining surfaces. Disinfecting kills a broader range of bacteria and viruses and is recommended for bathrooms, high-touch surfaces, and any area used by someone who has been sick.
What supplies do I need for spring cleaning?
The core supplies are microfiber cloths, a HEPA filter vacuum, a flat mop with washable pads, an EPA-registered disinfectant spray, white vinegar, baking soda, and a grout brush. These tools cover every surface type in the home without requiring a large investment.
Free pickup, expert care, delivered back to your door.
Popular Blog Articles


Meet the Author
Daniel Logan didn’t start CPL because he loved laundry. He started it because his family was drowning in time debt, and laundry was one of the biggest weights.
Mornings were chaos with two kids under 5. Evenings felt like catch-up. And weekends? Gone to sorting socks and folding piles.
He knew his story wasn’t unique. So he built a business that gave families like his just a little bit of breathing room one load at a time.
With no laundry experience but deep tech skills, Daniel rolled up his sleeves, doing every job himself while building systems that turned it into a modern laundry service that saves customers time, simplifies their lives, and delivers reliability they can count on.
That’s where CPL began. Not from a playbook, but from pain. From one dad trying to buy back time: for himself, and for every household like his.
Free pickup, expert care, delivered back to your door.